
Black Pearl Oyster Misting Routine: How to Keep the Top Surface Moist Without Waterlogging the Log
Black Pearl Oyster Misting Routine: How to Keep the Top Surface Moist Without Waterlogging the Log
Mist your Black Pearl Oyster kit once or twice a day, aiming for the exposed compost surface around the growing area rather than soaking it. The goal is a surface that stays evenly moist, not wet. If water pools anywhere on or around the log, dab it away with a piece of kitchen roll straight away.
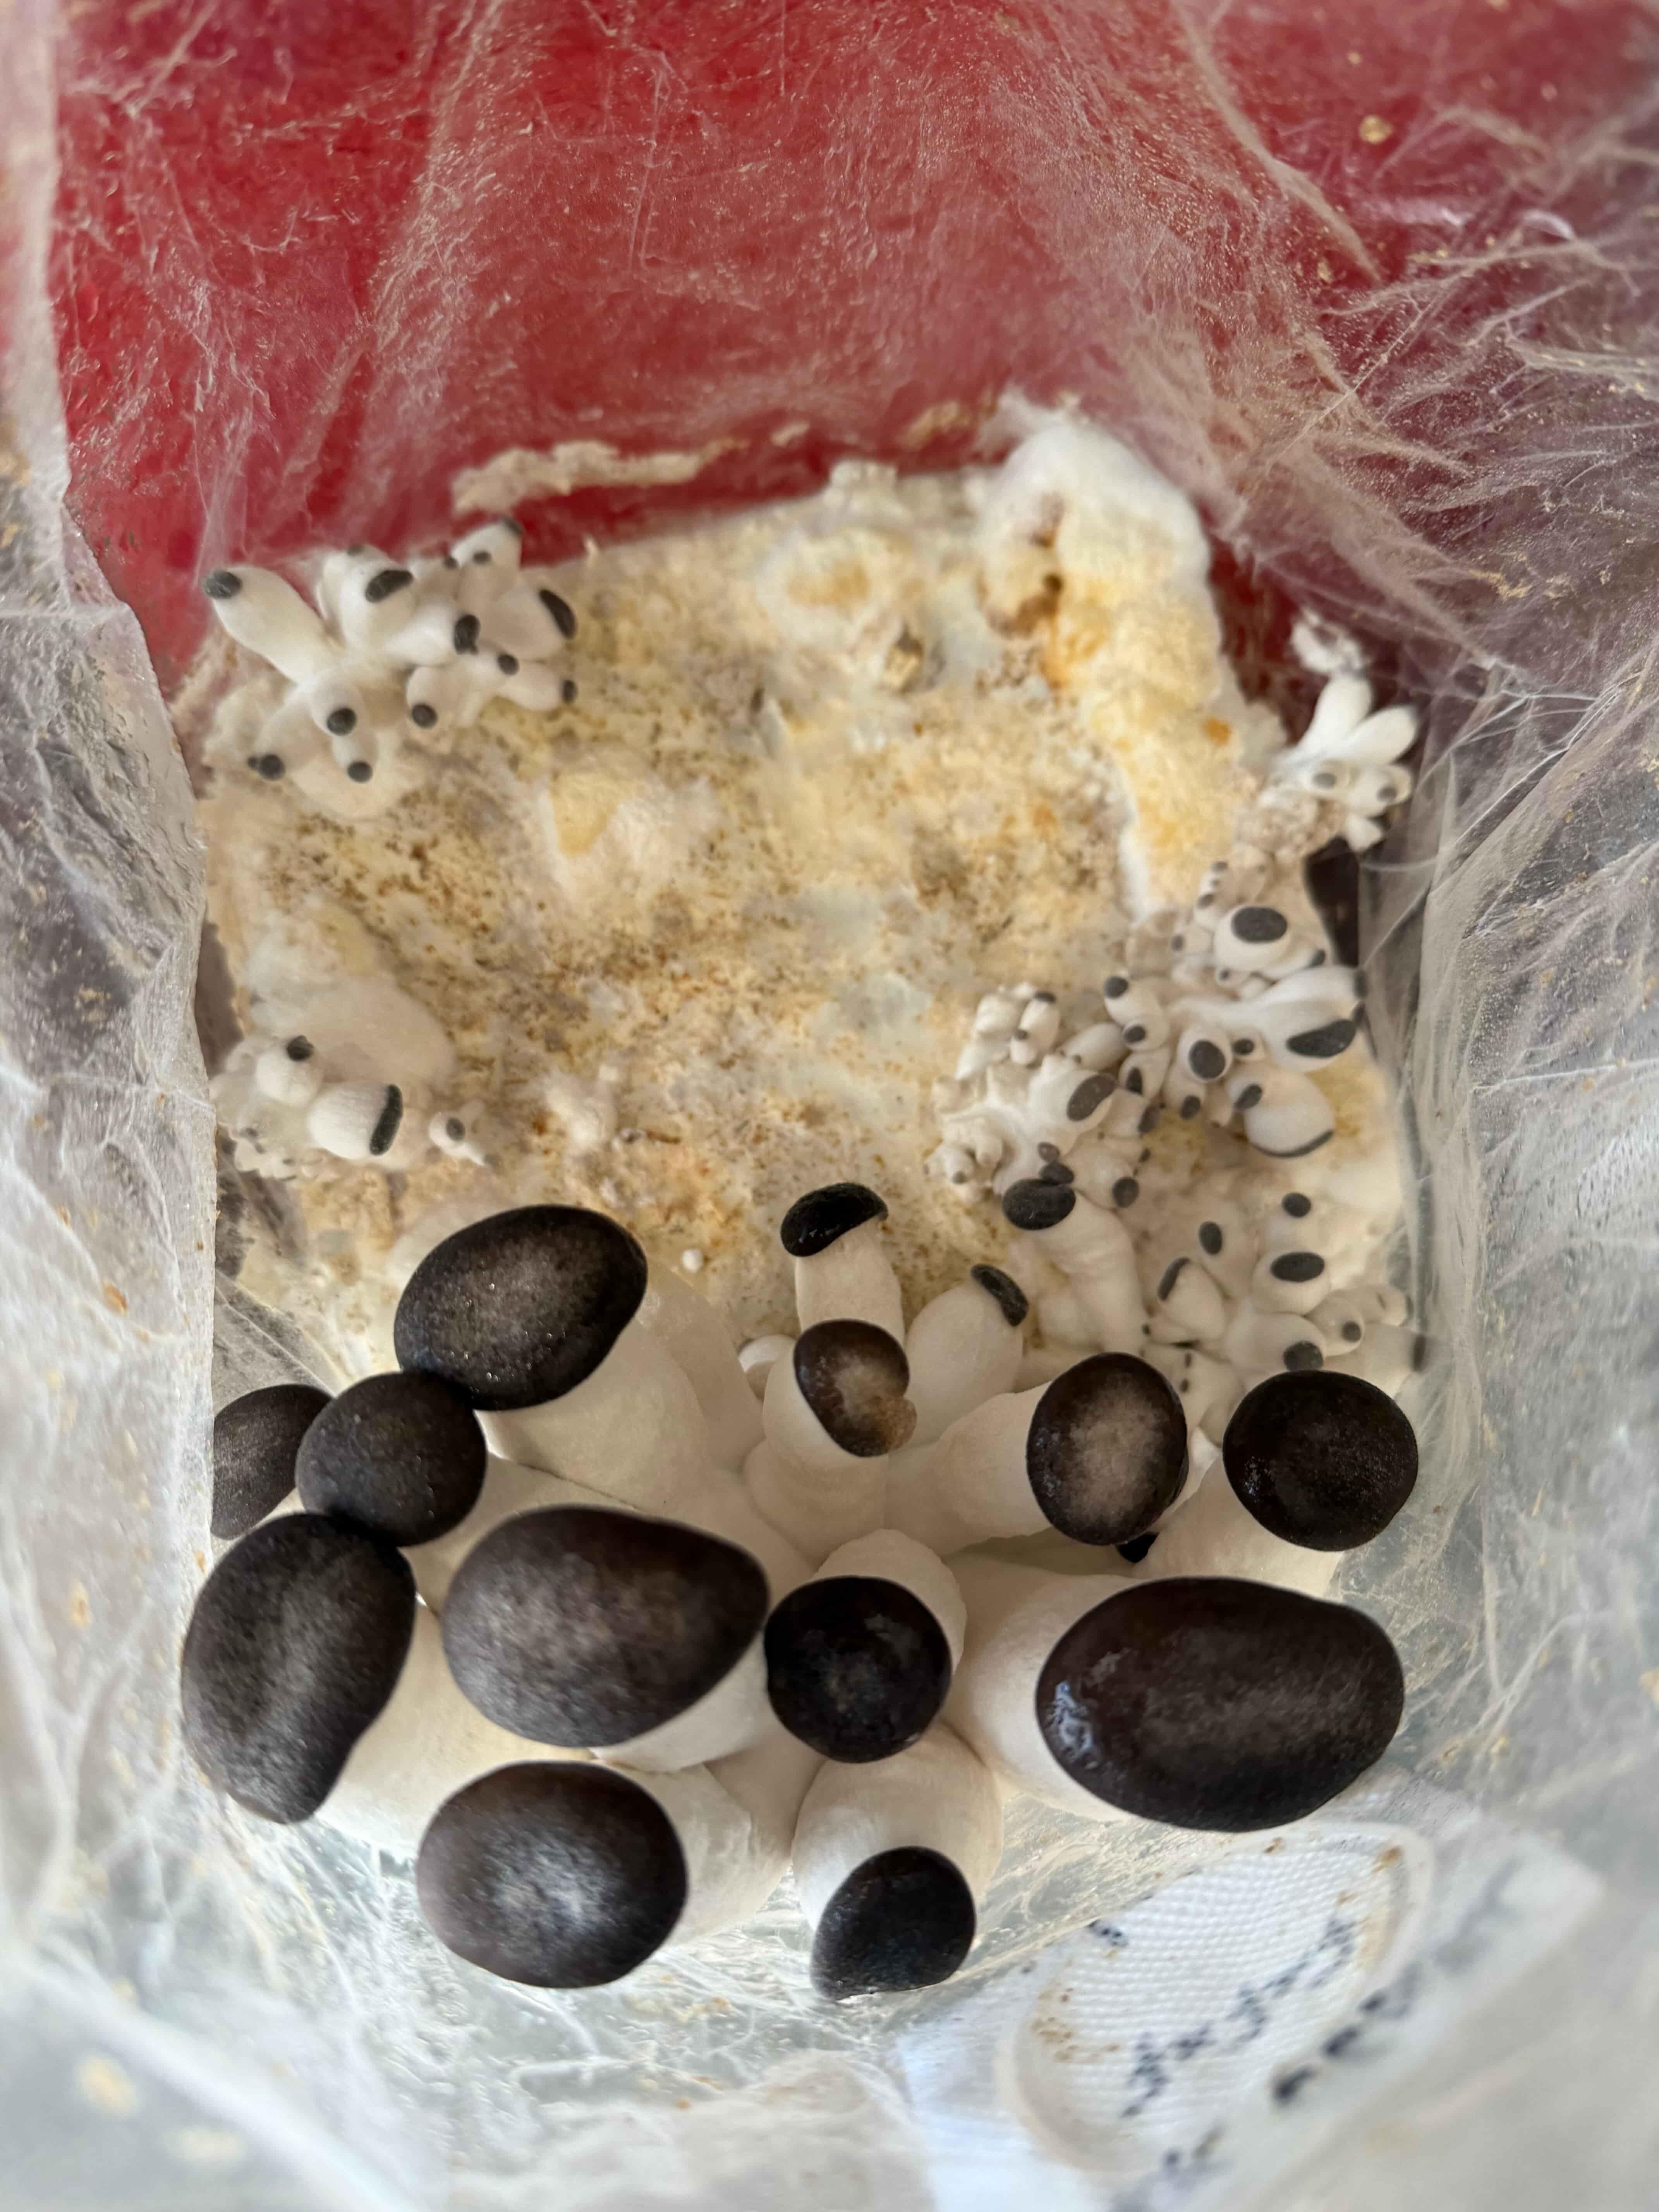
Black Pearl Oyster clusters developing from the colonised log
Why the log format needs a different approach
The Black Pearl kit arrives as a colonised log rather than the standard three-hole box used by most oyster varieties. Wood holds moisture differently from compost. It absorbs water slowly but can retain it in pockets, which means overwatering is a more realistic risk here than with a standard kit. A light, consistent mist is always better than an occasional heavy soaking.
The simple daily routine
Mist once in the morning and once in the evening. Use a fine spray bottle set to a gentle mist rather than a jet. A few seconds of spraying over the exposed growing surface is enough. You are not trying to drench the log; you are maintaining a humid microclimate around the surface where pins will form.
After misting, glance at the surface. It should look evenly damp, similar to soil after a light shower. If you can see water sitting in puddles or running off the surface, you have used too much. Dab any pooling water away immediately with kitchen roll. Leaving standing water on or around the log encourages bacterial growth and can lead to soft, discoloured patches on the compost that will compete with your mushrooms.
Quick reference
Mist once or twice daily, morning and evening
Target: the compost surface around the growing area
Surface should look evenly damp, not wet
Any pooling water: dab away immediately with kitchen roll
Do not spray directly onto developing pins or mushrooms
Signs you are getting it right
The surface stays a consistent damp colour without drying out between sessions. Pins form as small, firm, dark points and develop steadily without going soft or discoloured. The compost does not look cracked or pale, which would indicate it is too dry, and there is no sliminess or unusual smell, which would indicate too much moisture.
Signs you need to adjust
Too dry: the surface looks pale, powdery, or cracked. Pins may stall or not appear at all. Increase misting frequency slightly and check that the kit is not sitting near a heat source or in a draught.
Too wet: water pools on the surface, the compost looks slimy, or you notice a sour smell. Reduce misting to once a day, dab away any standing water, and make sure the kit has reasonable airflow around it so the surface can breathe between sessions.
What to expect as your kit develops
Black Pearl takes a little longer than faster oyster varieties to reach its first harvest, typically around 15 to 20 days. Here is what normal progress looks like at each stage.
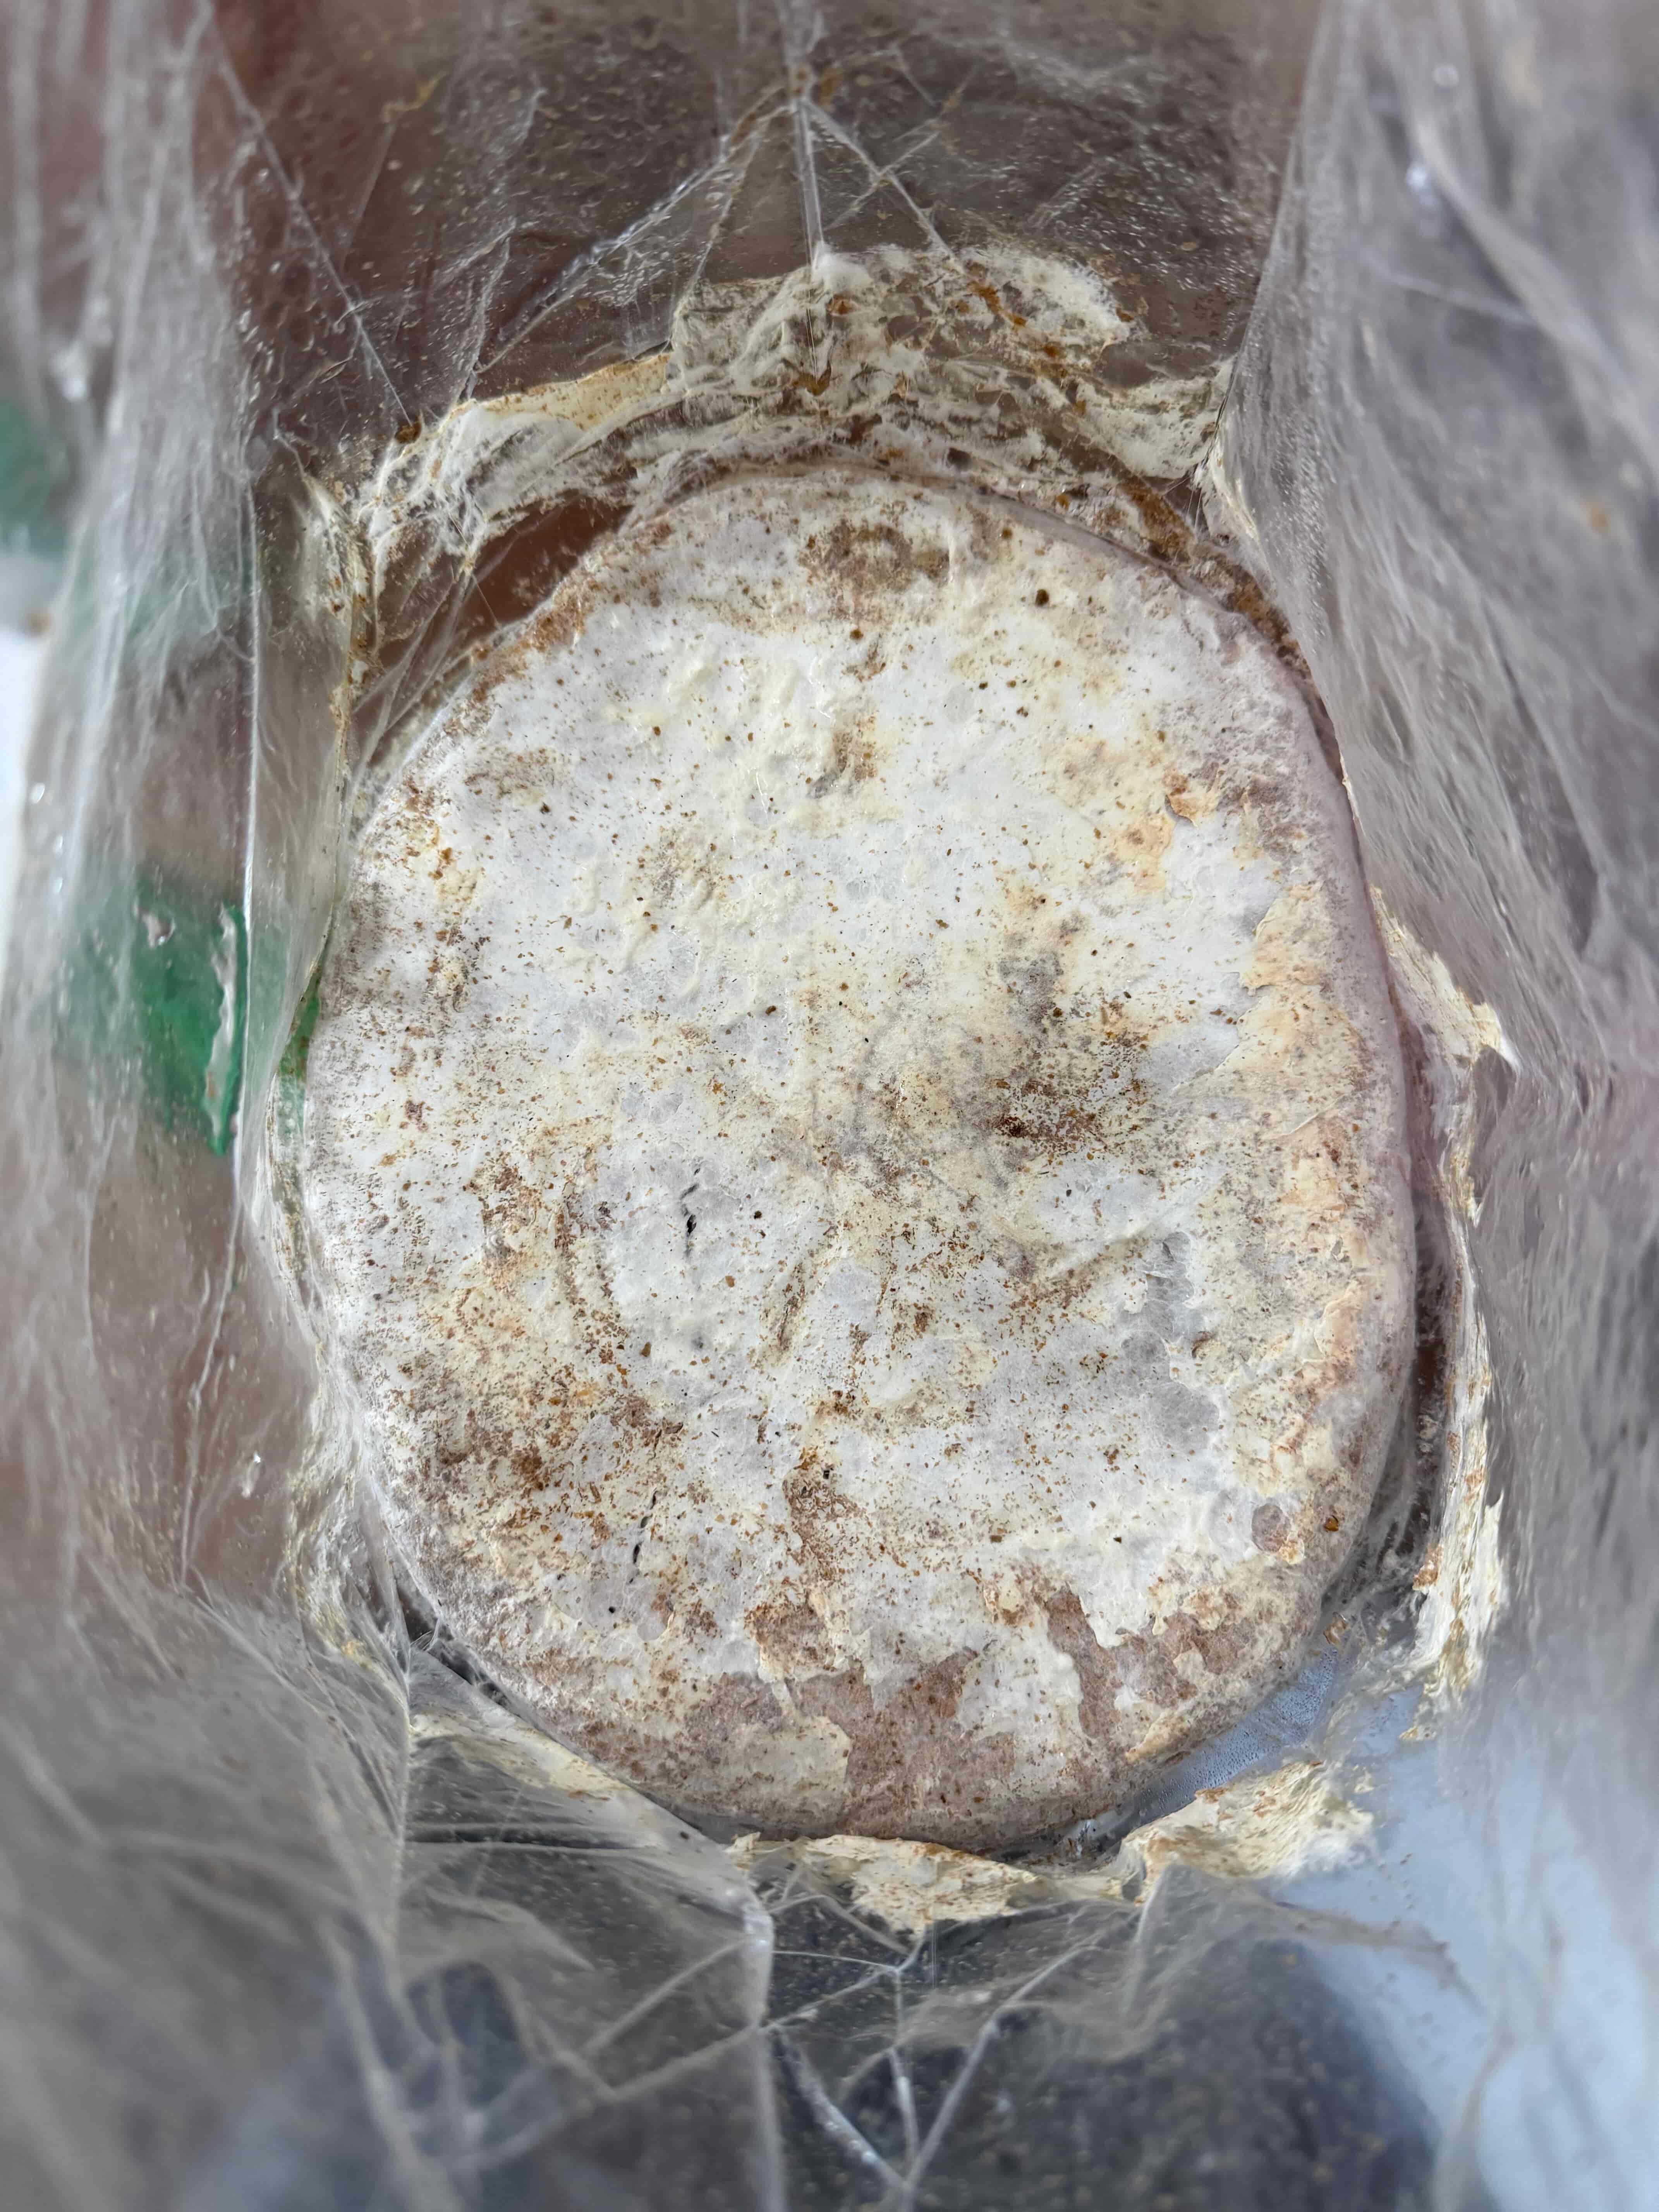
Day 1 — Setup
Set up in a cool room with indirect light. Healthy white mycelium should be visible. Begin twice-daily misting of the compost surface.
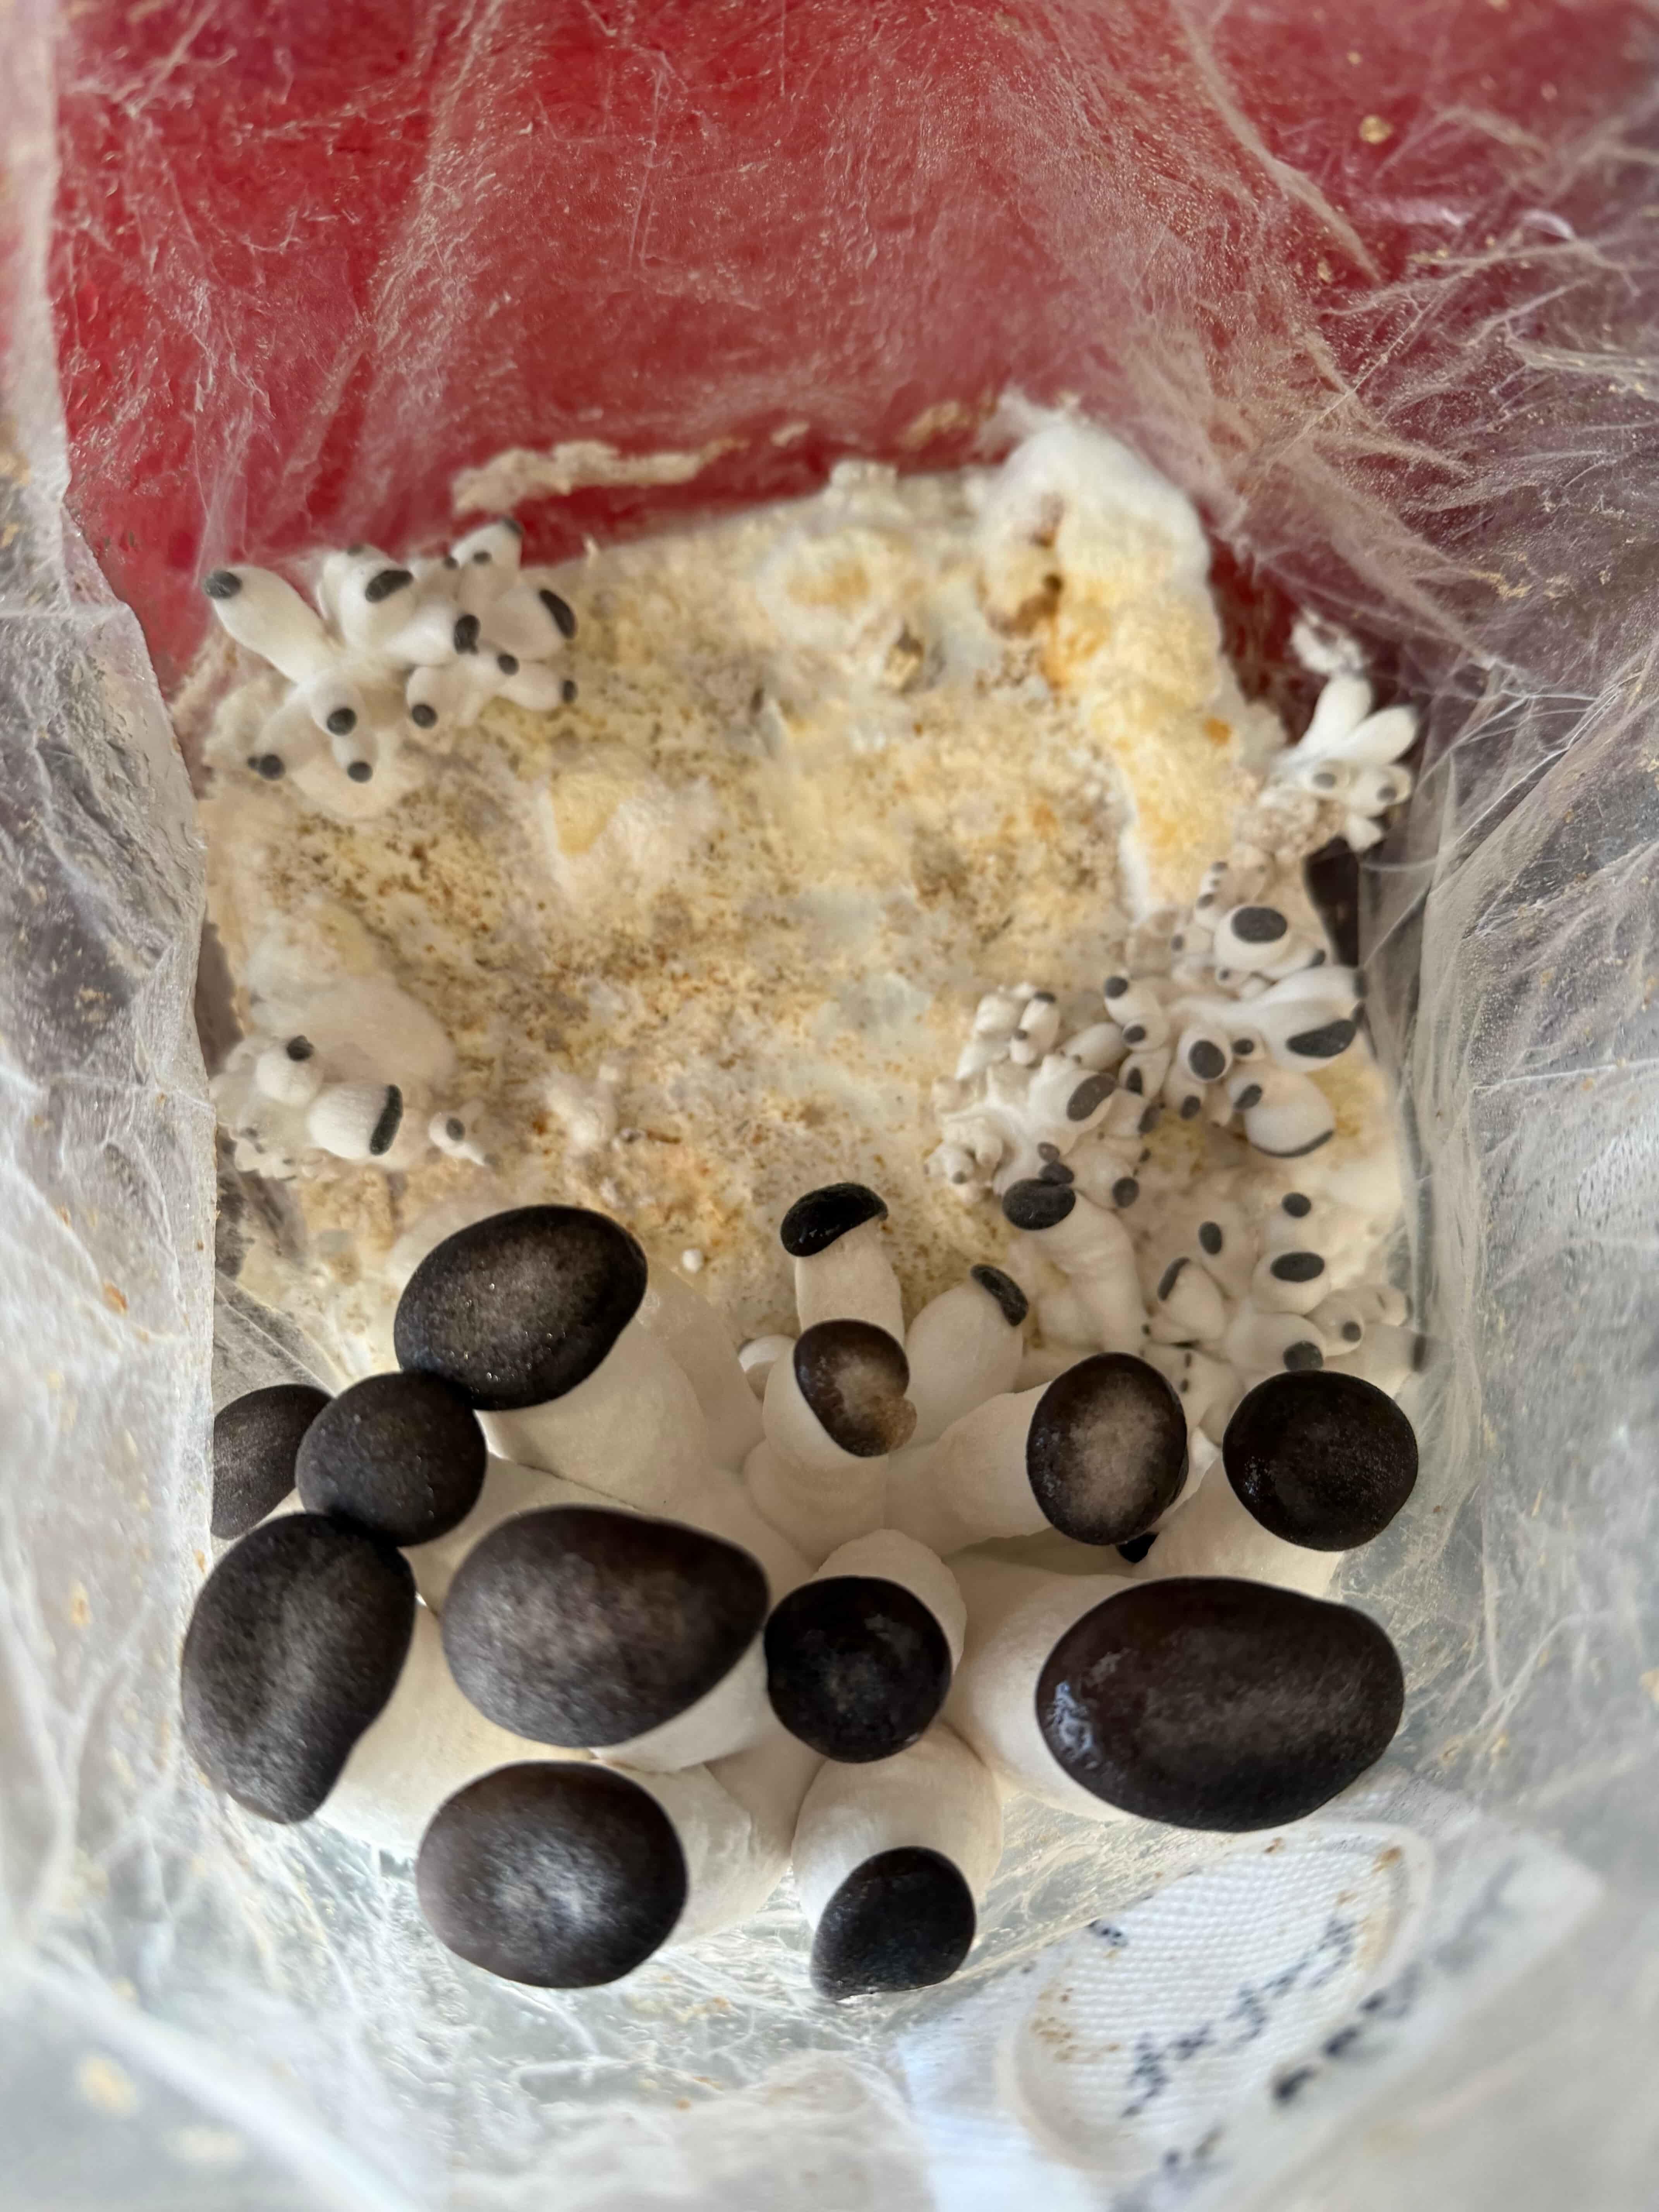
Days 5–10 — Pins form
Pinning often starts more slowly than in faster oyster varieties. Small heads appear at different points across the compost and may not emerge evenly.
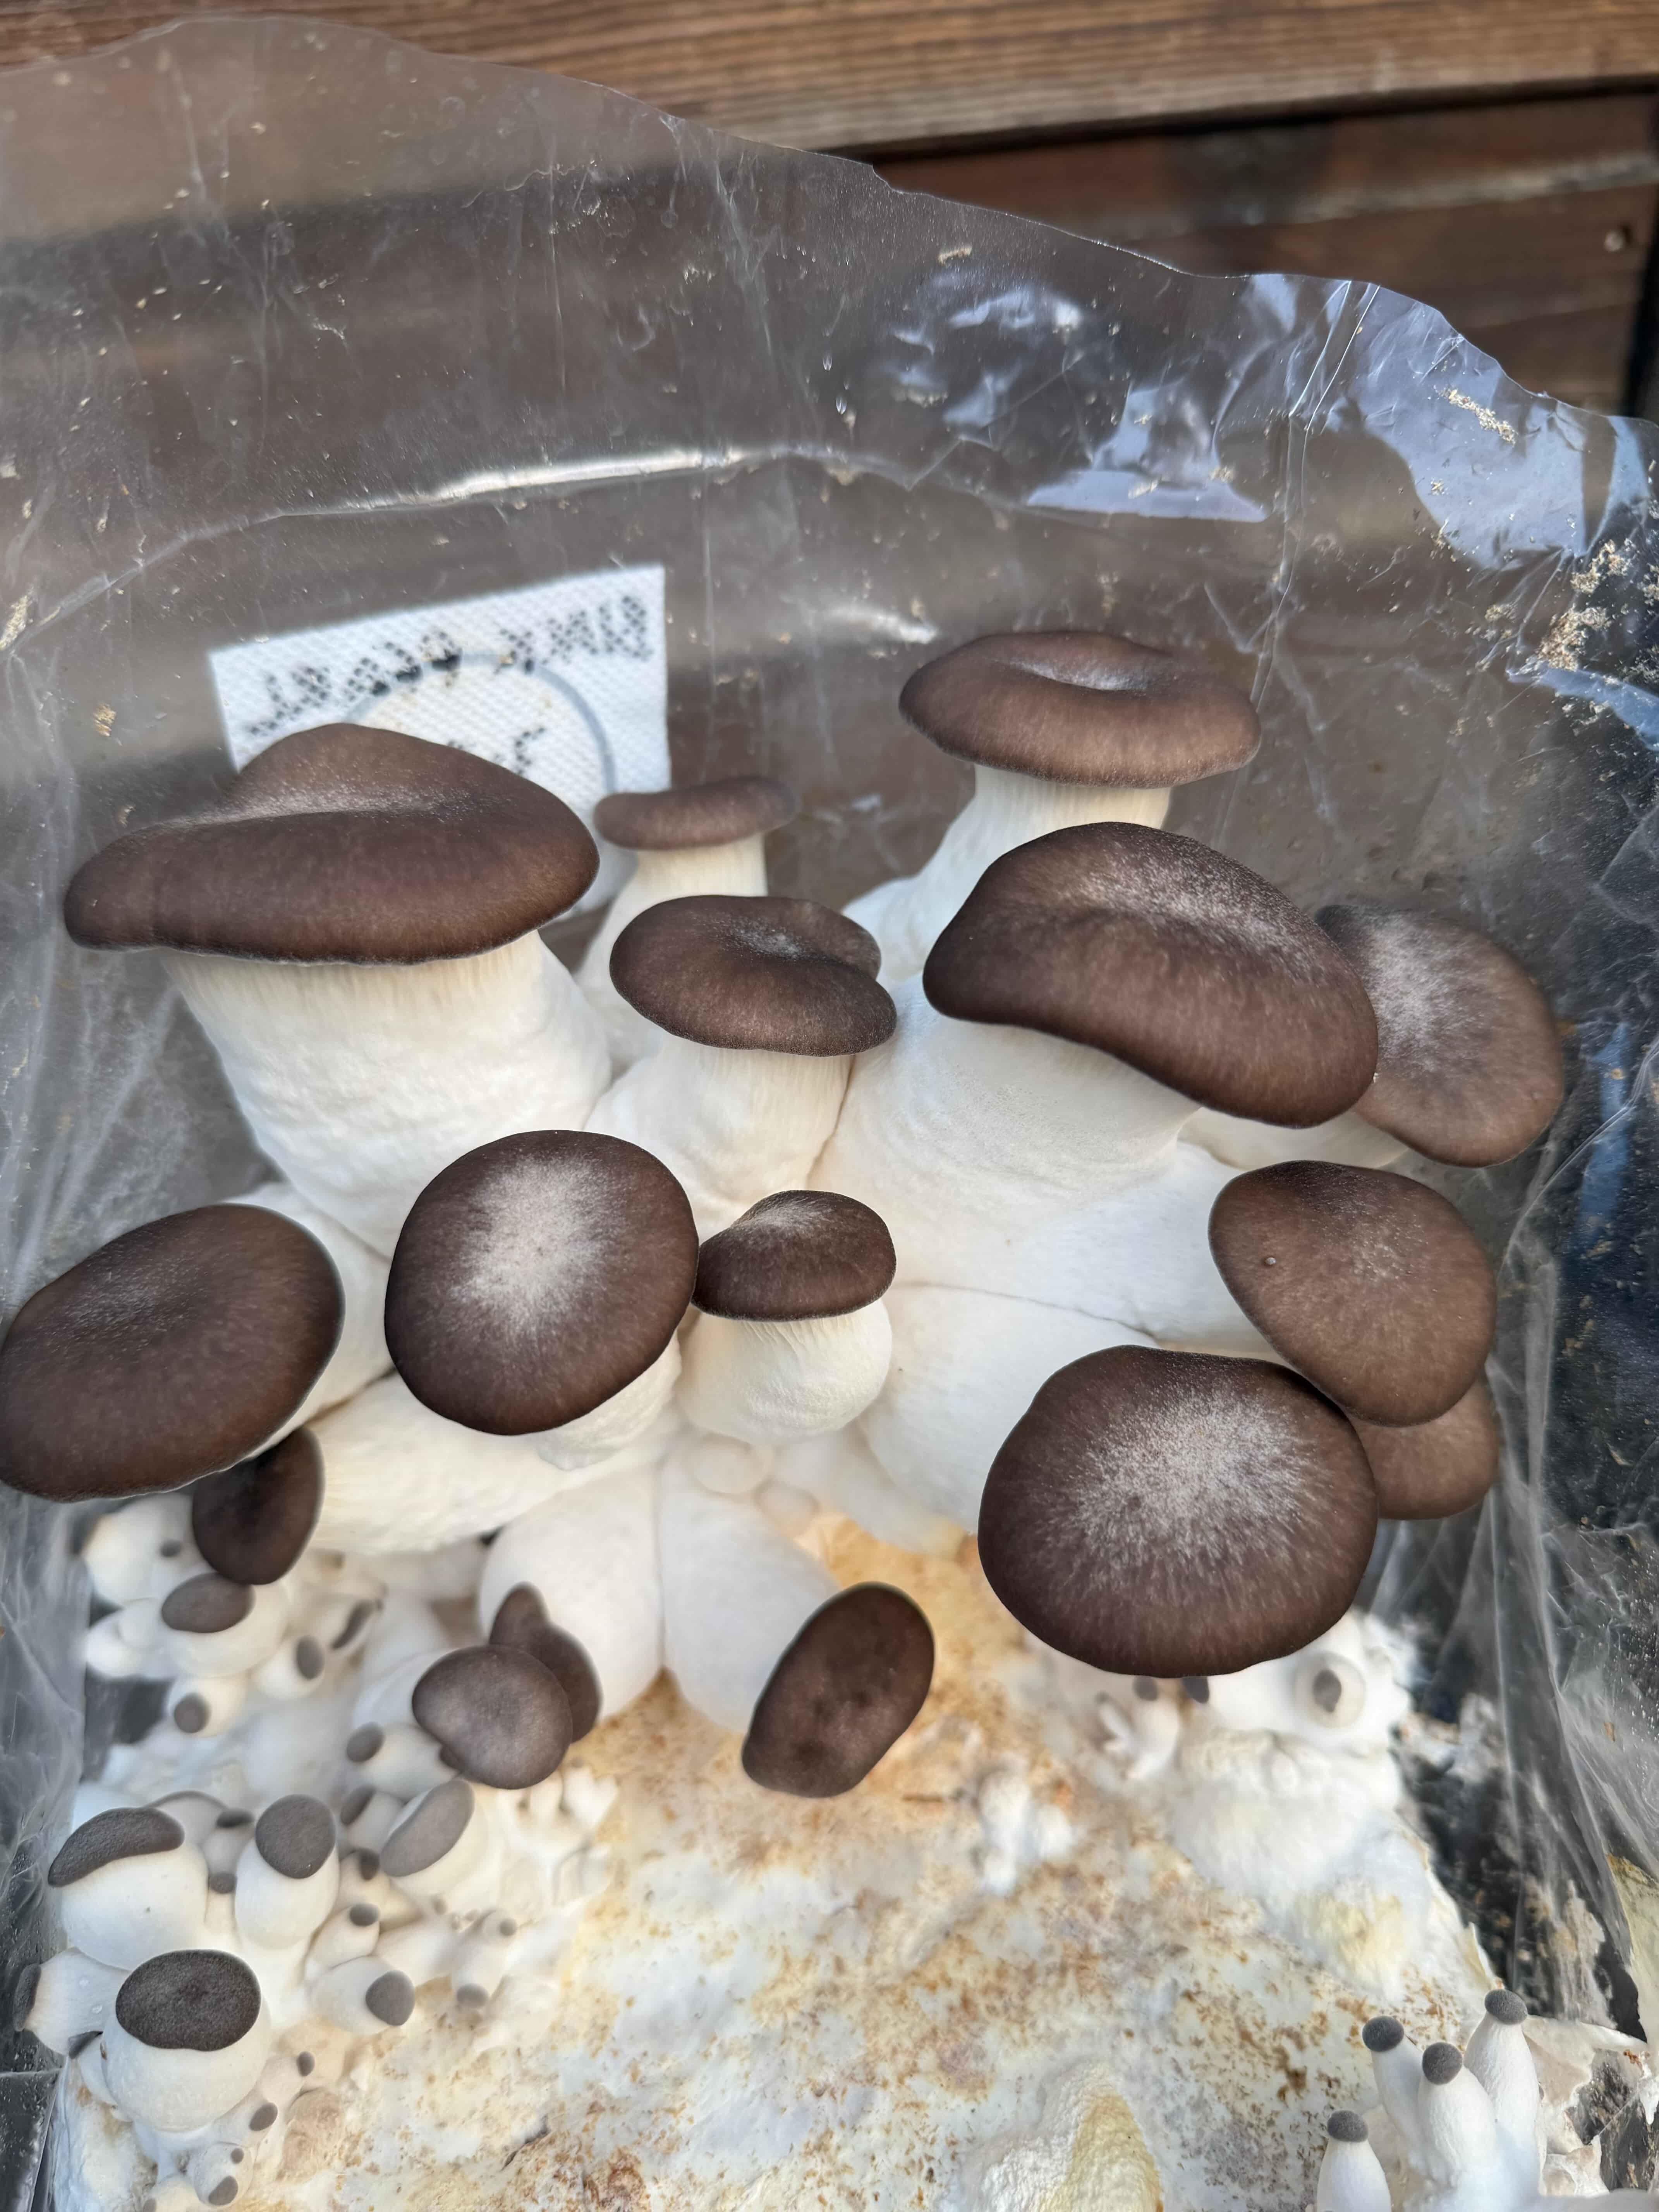
Days 11–12 — Mushrooms take shape
Dark-capped young mushrooms begin to lengthen and thicken. Overnight change can be strong once the first proper forms appear.
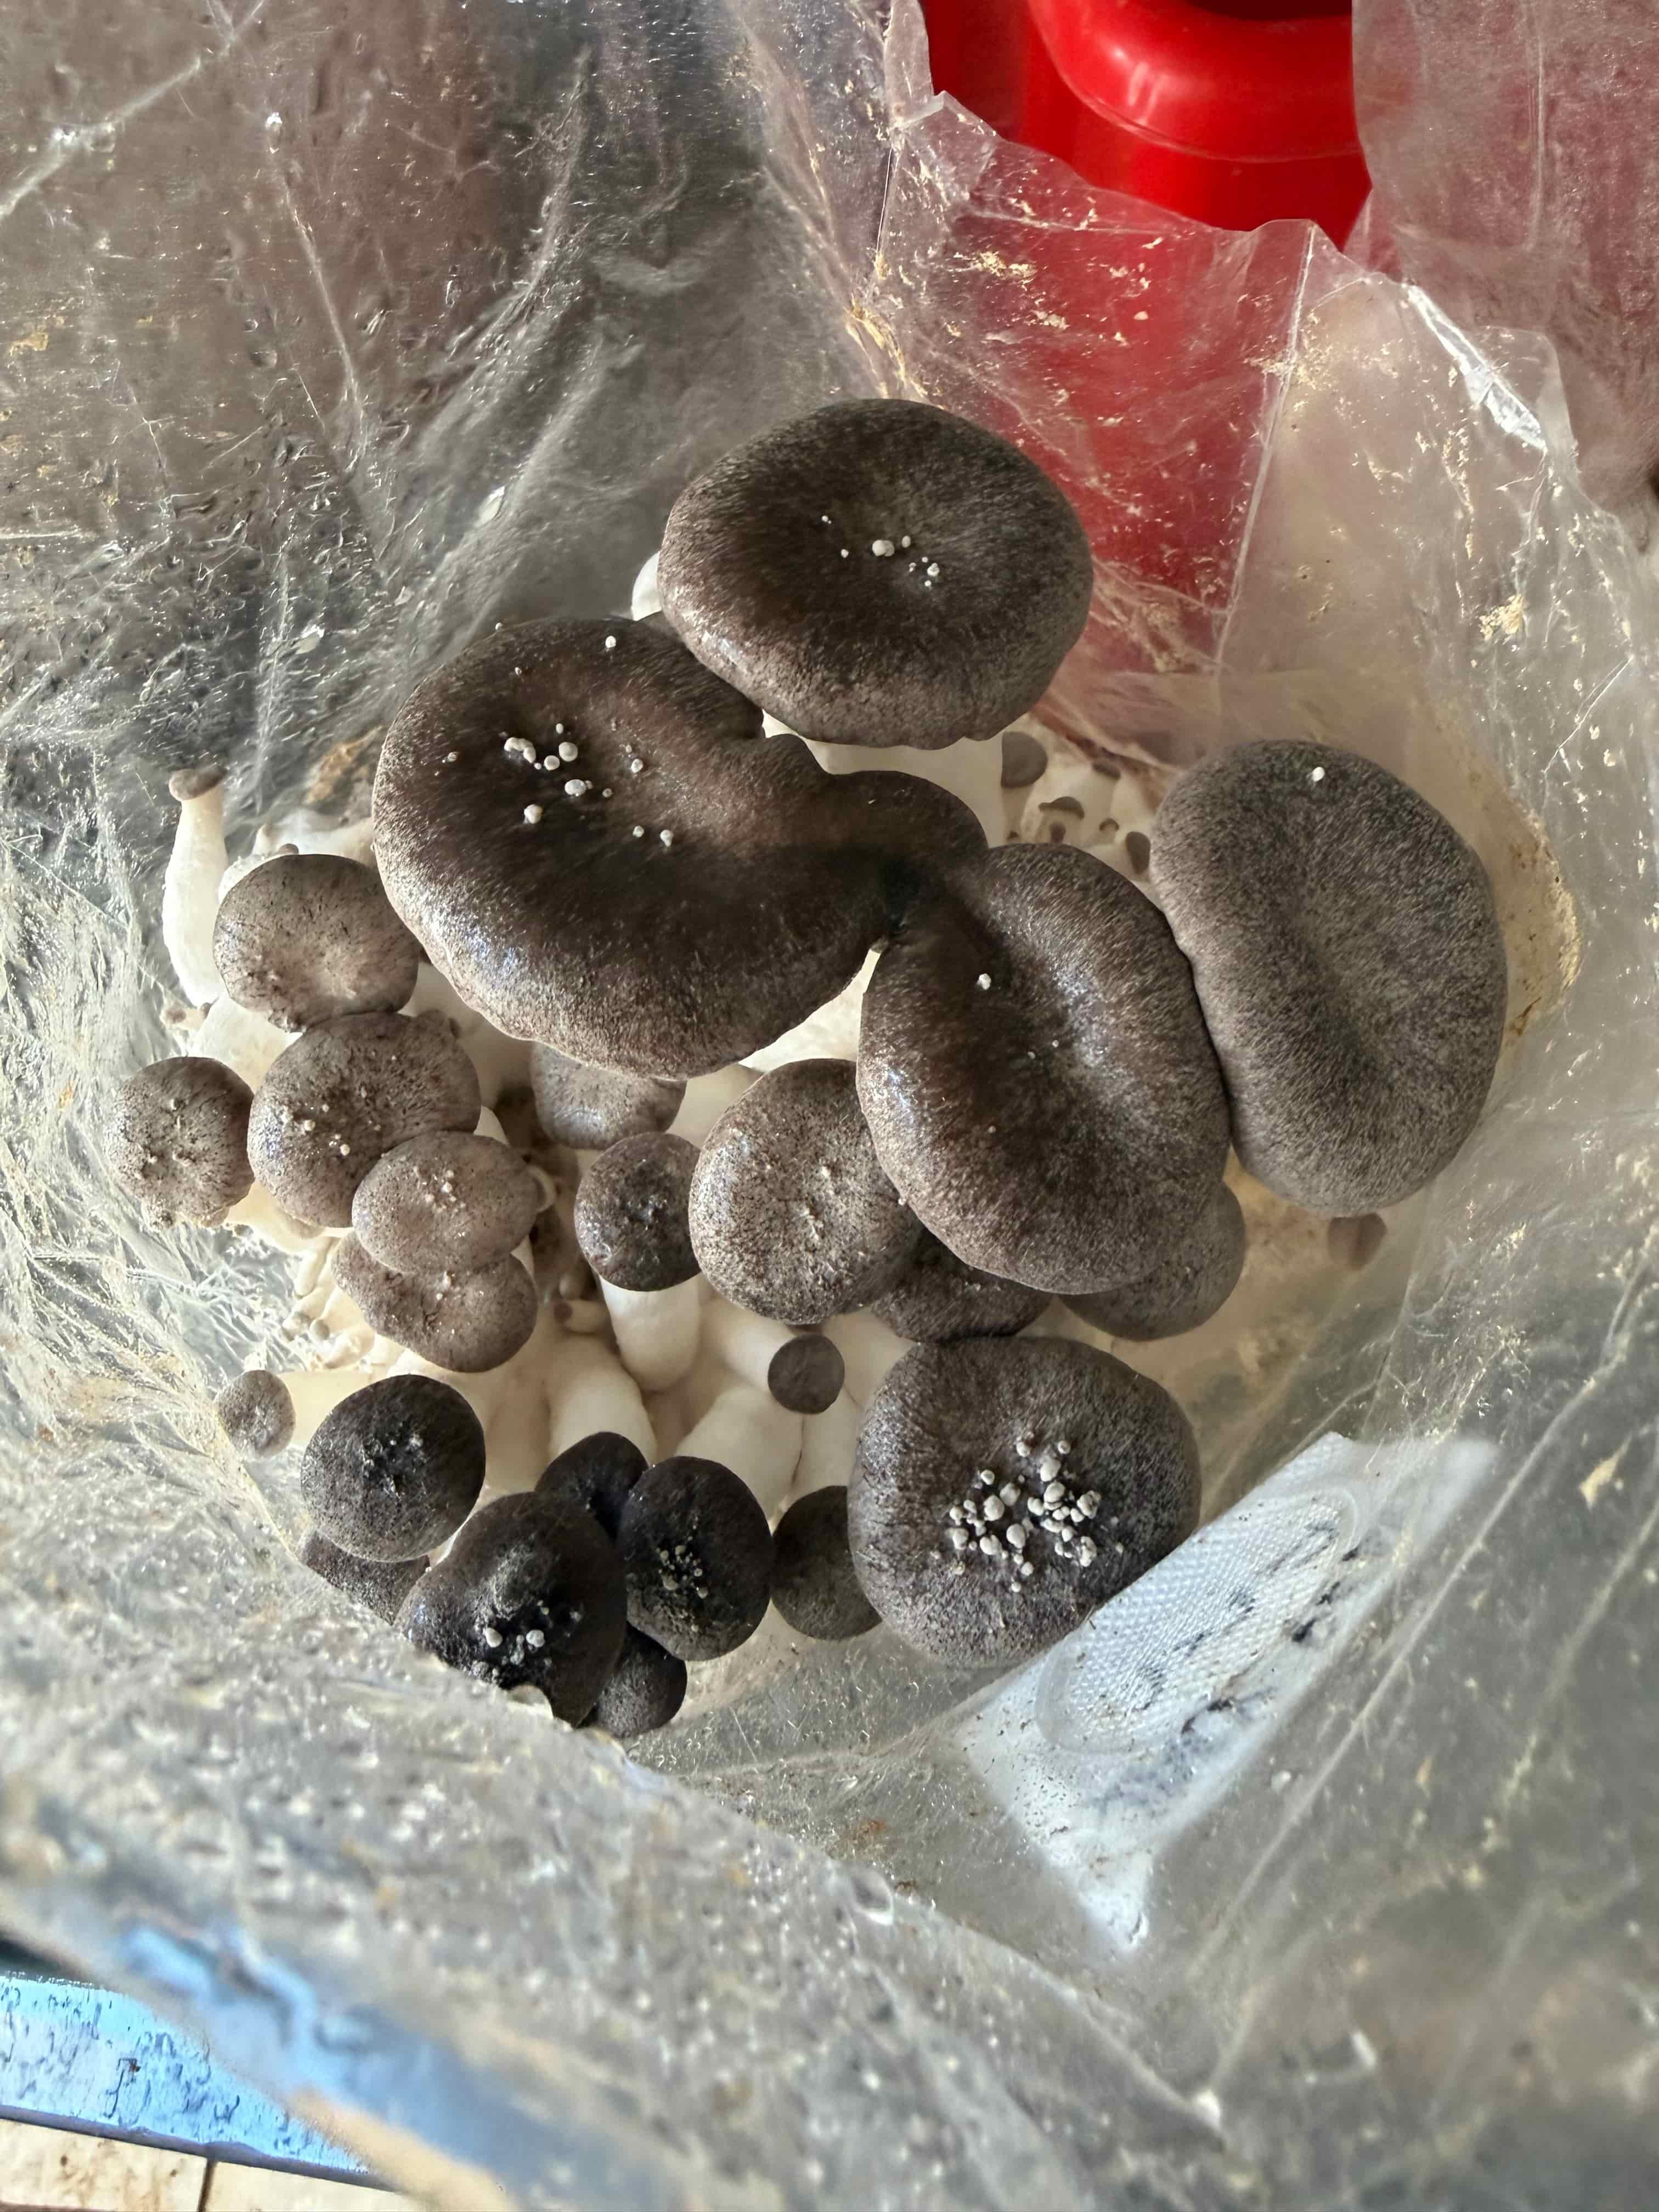
Days 13–14 — Size builds fast
Growth becomes more obvious during this period. Mid-sized mushrooms are common now, but full maturity still needs a little more time.
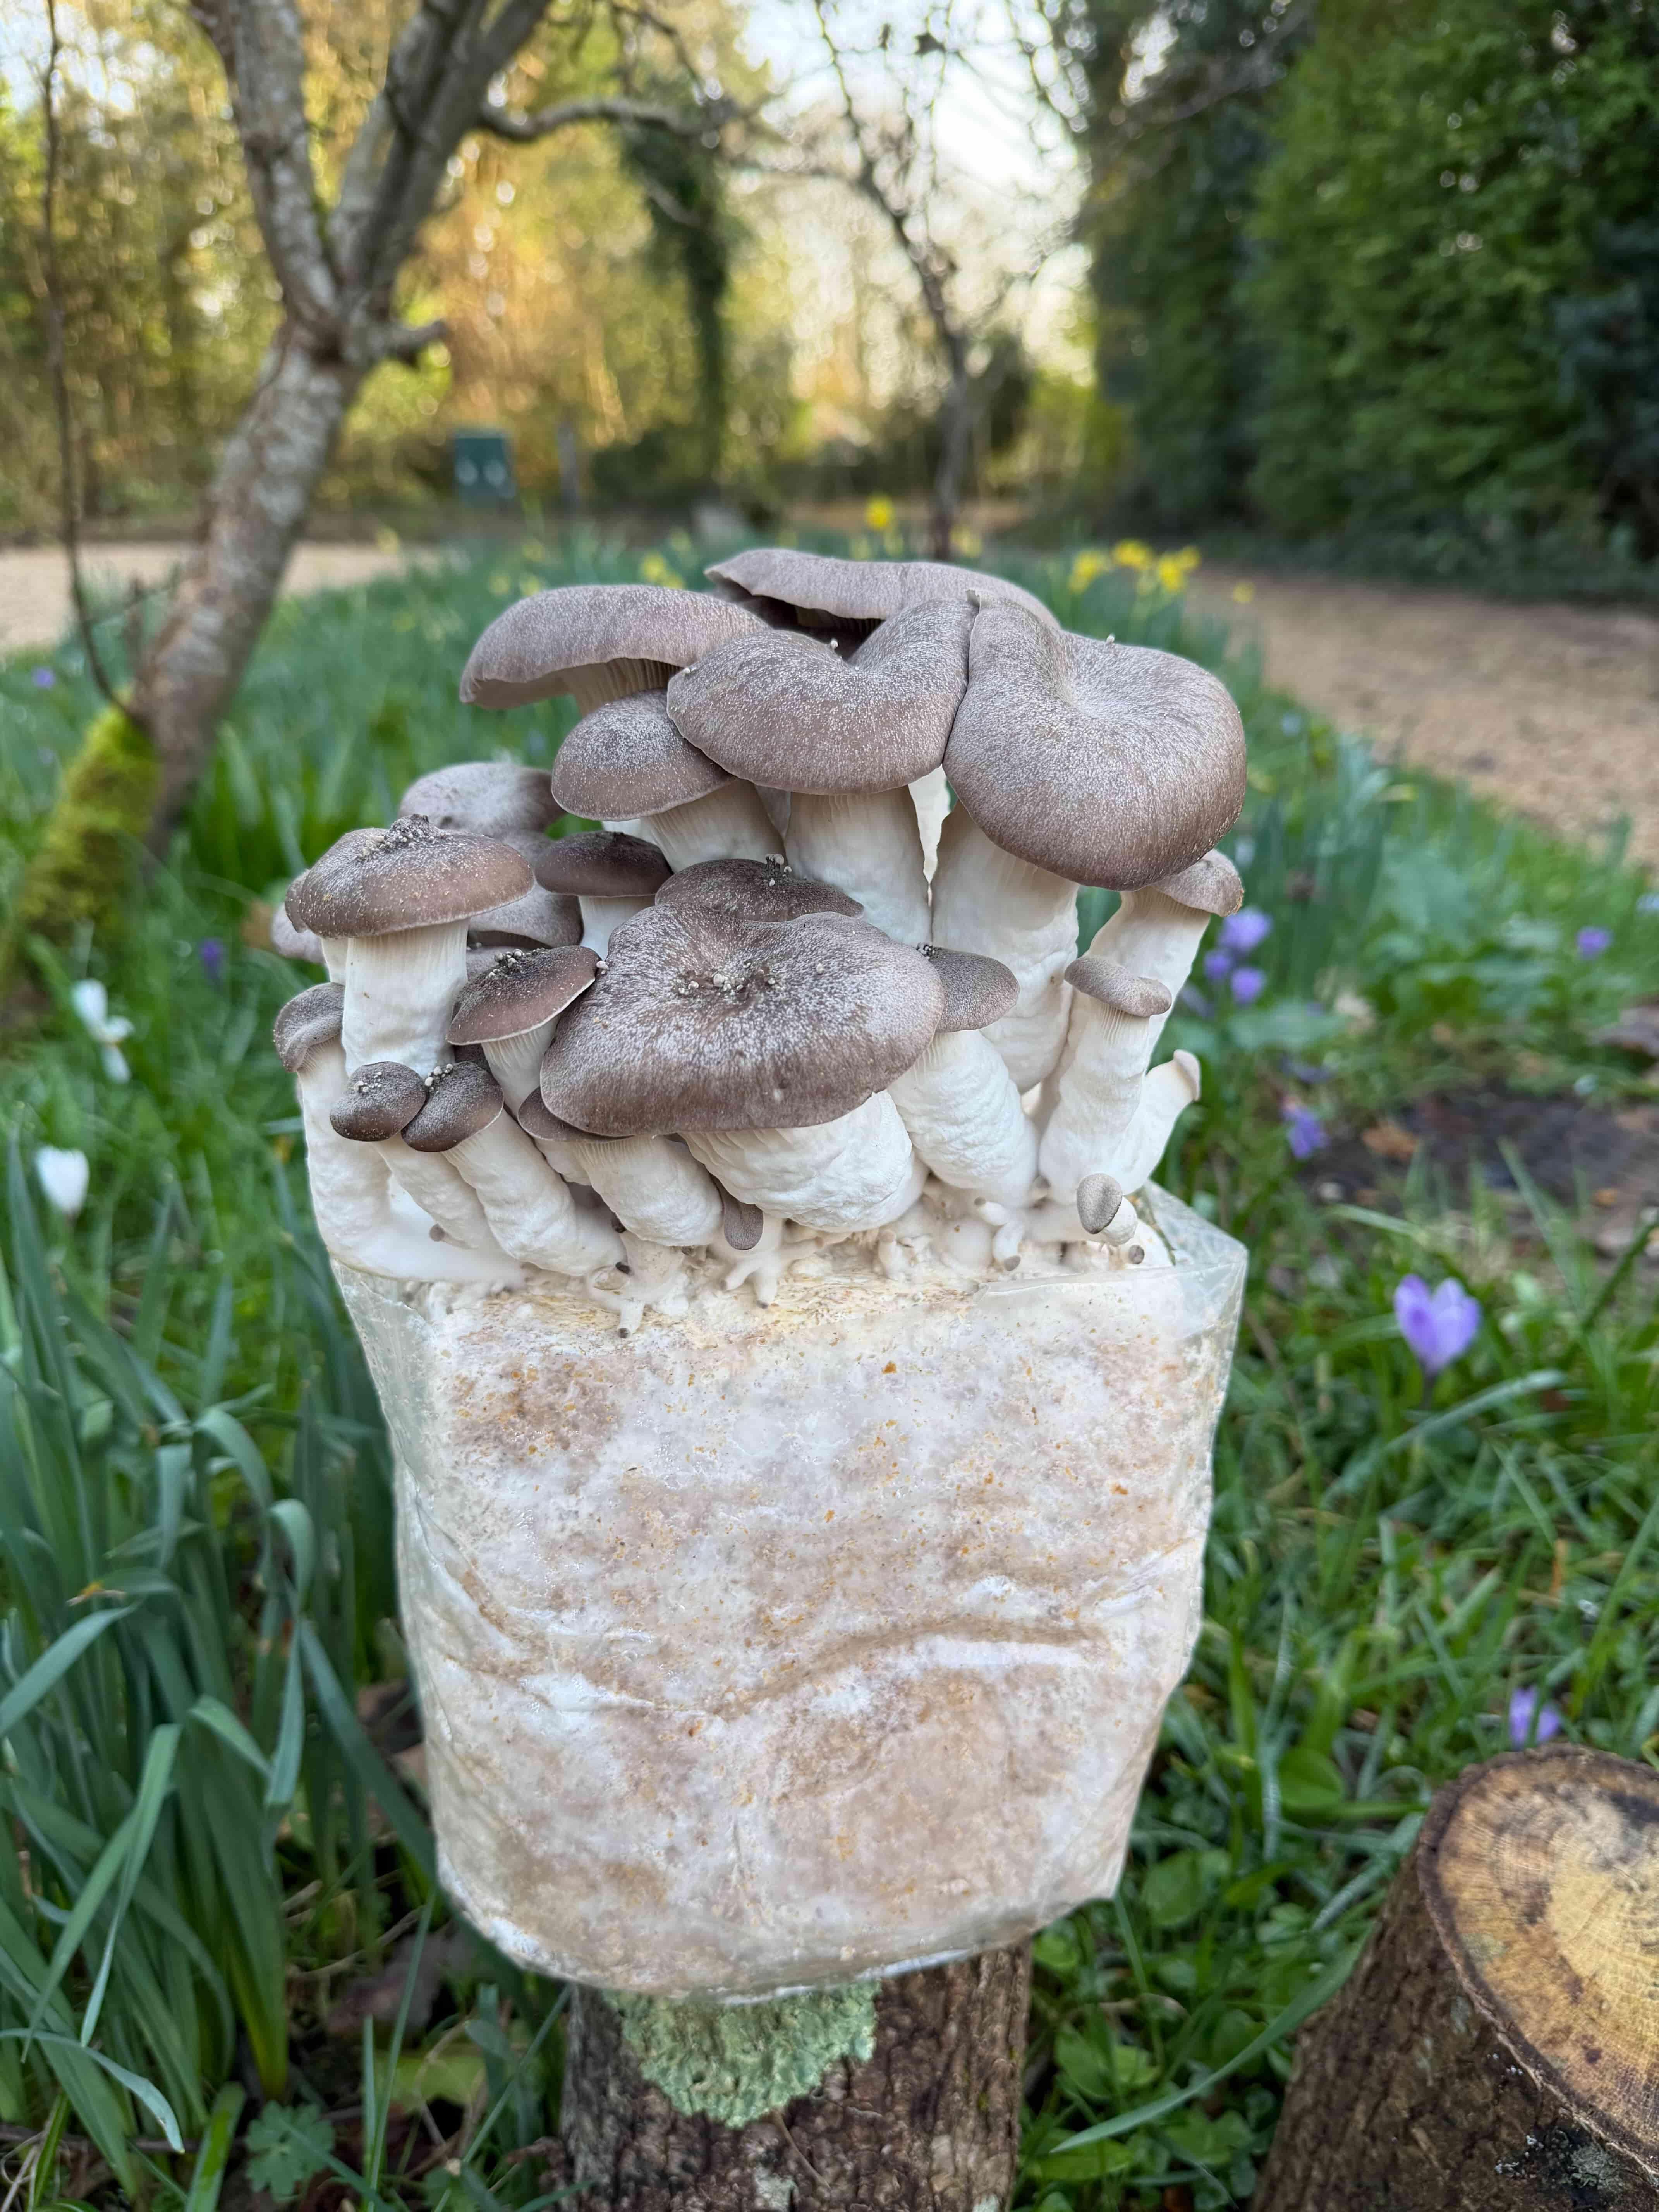
Days 15–20 — Harvest
Harvest is best when the stems feel dense and the caps remain relatively small. A clean cut at the base gives the tidiest result.
For the full visual timeline covering all kit varieties, visit our Mushroom Growing Kit Timeline.
Ready to grow Black Pearl Oyster mushrooms?
Our kit arrives fully colonised. Just mist daily and harvest in 1–2 weeks.
Shop Growing KitsPublished by Merryhill Mushrooms
Sussex, UK | Six generations of mushroom growing excellence