Mushroom Growing Glossary and information
Mycelium, Pins, and Flushes: The Simple Glossary Beginners Need Before Starting a Kit
Plain-English definitions of every mushroom growing term, so nothing on your kit instructions is a mystery.
Mushroom growing uses terms that sound technical but are actually simple once explained. If you have just bought a mushroom growing kit and the instructions mention mycelium, pins, substrate, or flushes, this guide explains what each one means in plain English so you know exactly what is happening inside your kit at every stage.
You do not need to memorise any of this to grow mushrooms successfully. The kit instructions tell you what to do at each step. This glossary is here so that if you see a term you do not recognise, you can look it up quickly and carry on with confidence. Or just to learn more about this fascinating topic!
Jump to a term
Mycelium
Mycelium is the white, thread-like network that grows through the substrate inside your kit. It is the living organism that eventually produces mushrooms. Think of mycelium as the root system and mushrooms as the fruit. Just as an apple tree has roots underground and produces apples above ground, mycelium spreads through the growing medium and produces mushrooms on the surface.
When you open a ready growing kit, the block will be covered in white material. This is healthy mycelium, and it is exactly what you want to see. It means the growing process is already underway and the kit is ready to start producing mushrooms.
White material on your kit is almost always healthy mycelium, not mould. Mould tends to be green, black, or blue, and often has a noticeable off smell. If you are unsure whether what you are seeing is healthy growth or contamination, the overgrown mycelium guide explains the difference with photos.
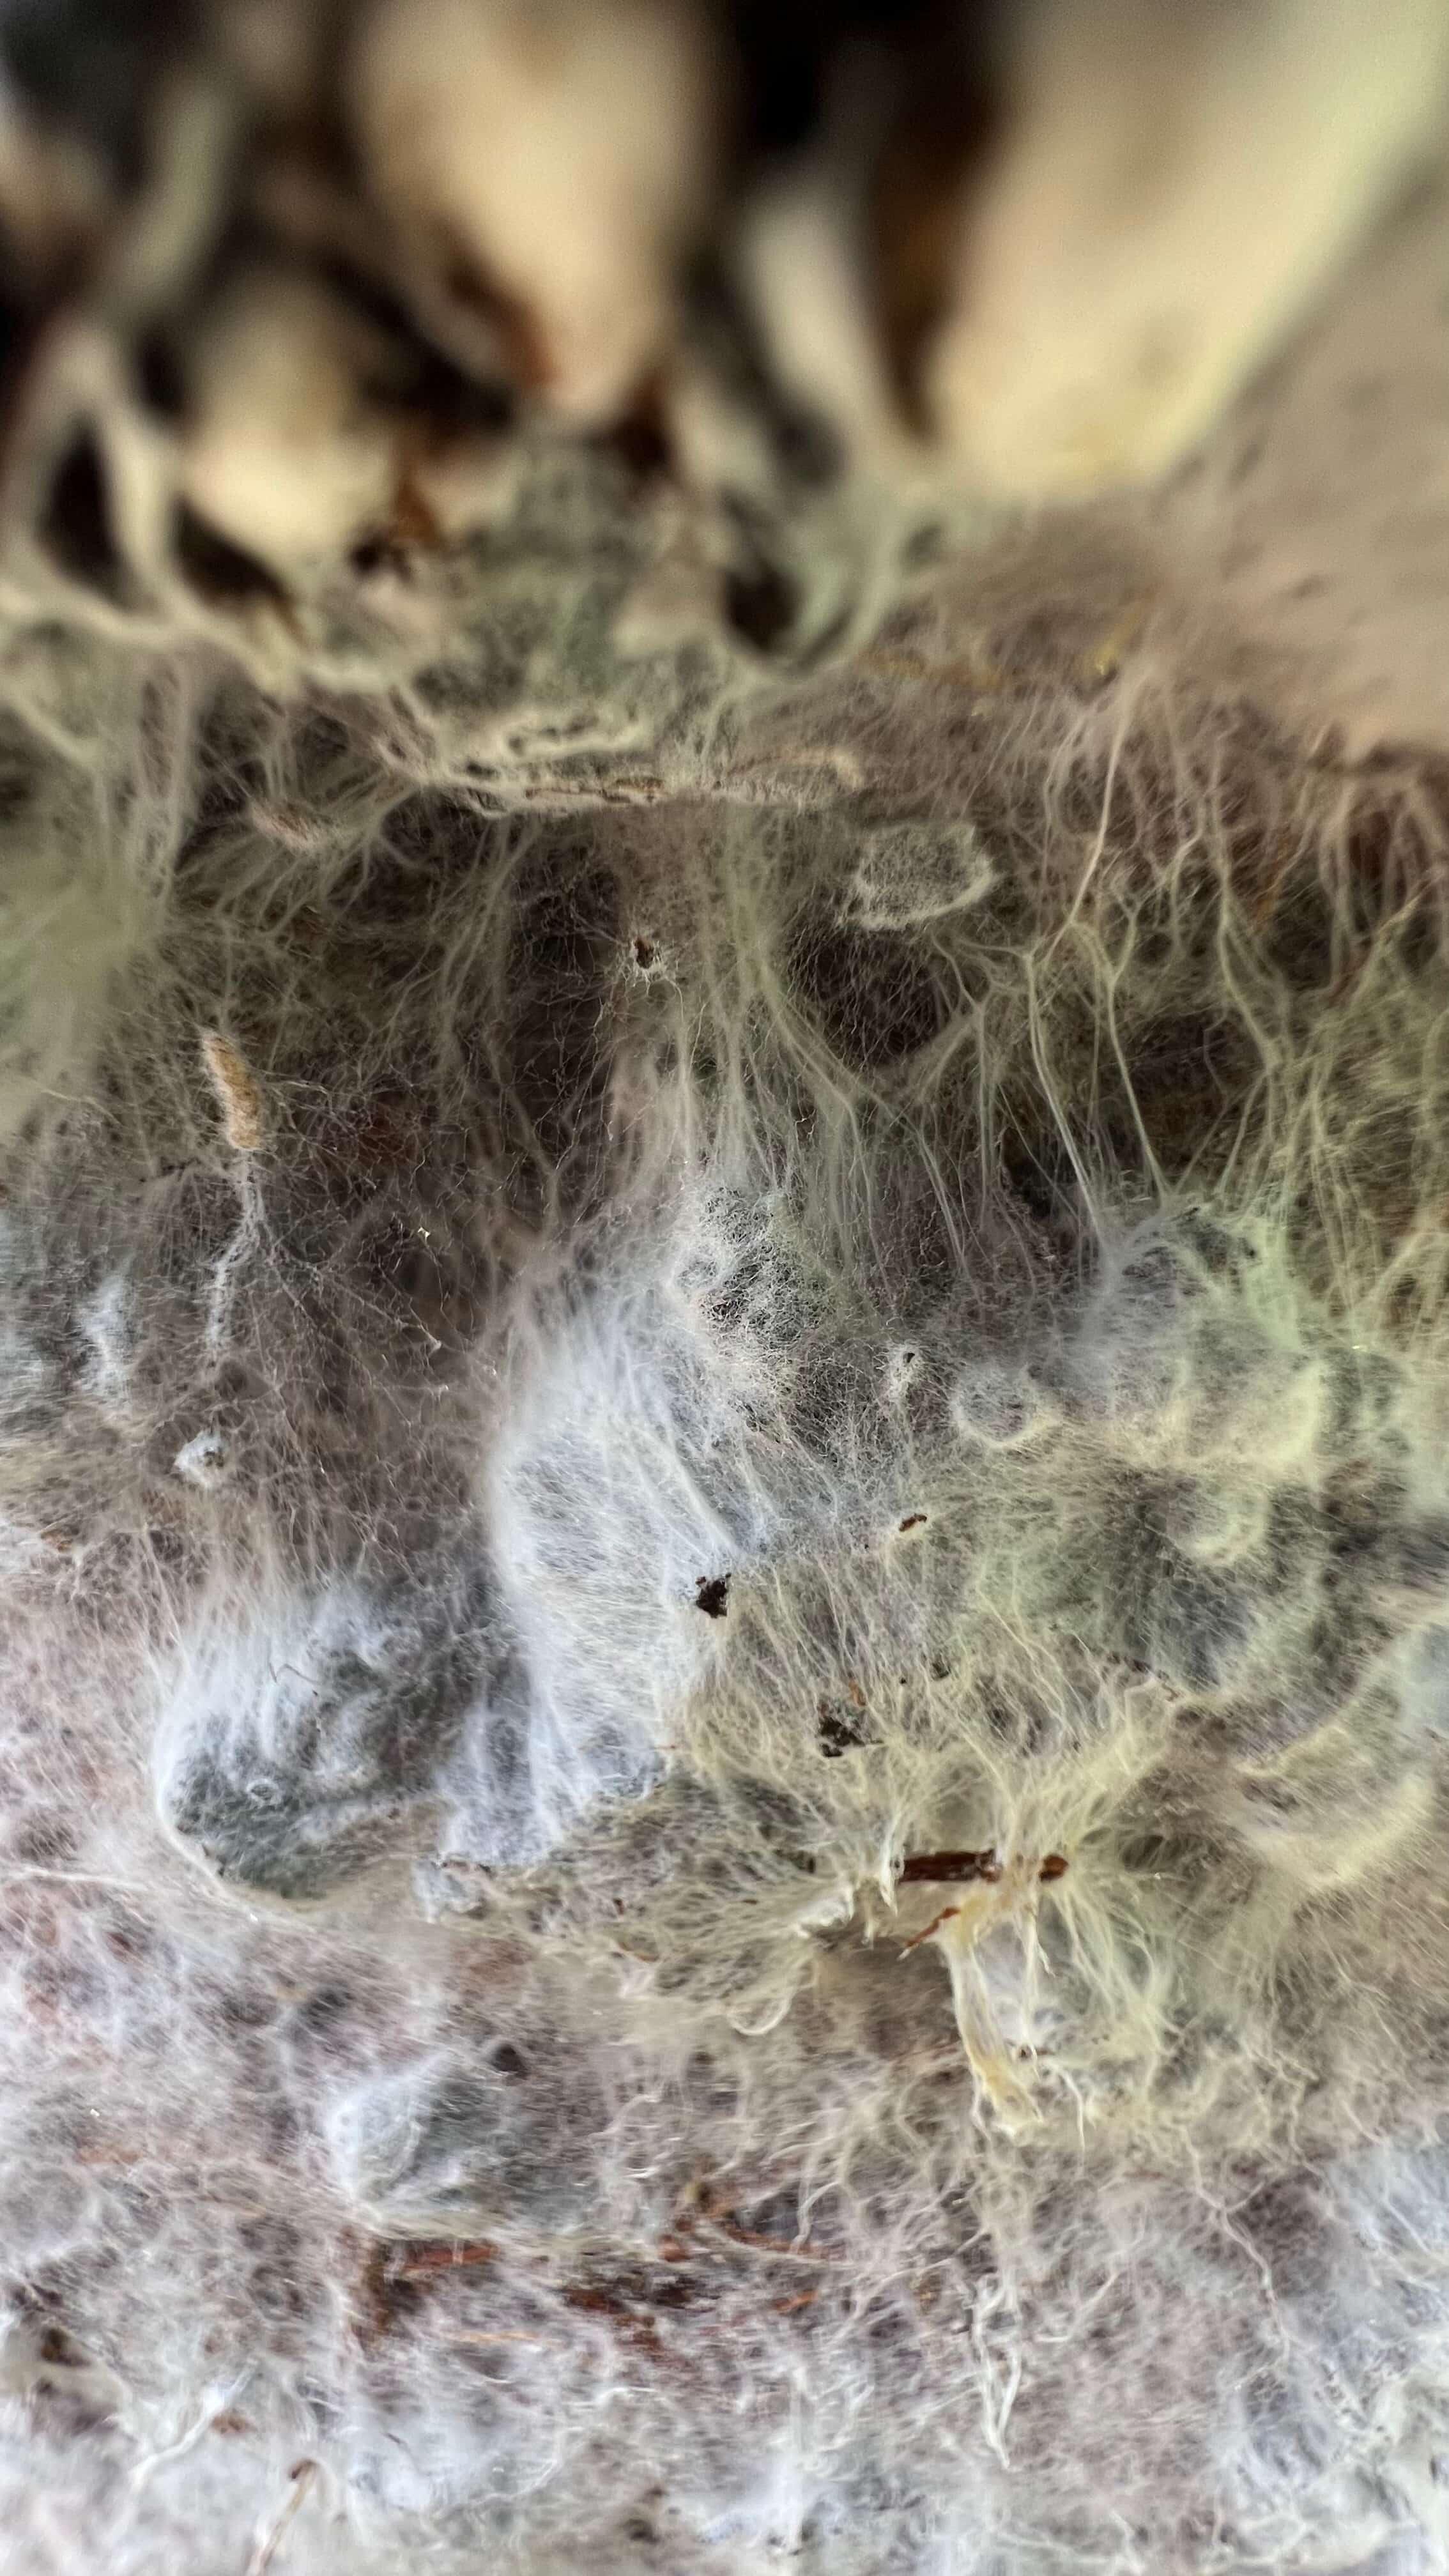
Thin visible web of mycelium on the growing substrate
Hyphae
Hyphae are the individual thread-like strands that make up mycelium. If mycelium is the whole network, hyphae are the single fibres that build it. Each hypha is microscopic on its own, but when millions of them grow together and branch out through the substrate, they form the visible white web you see on your kit.
Hyphae are how the mushroom feeds. They release enzymes that break down the substrate into nutrients, then absorb those nutrients back through the strand walls. As they grow, they keep branching outward in search of more food, which is why a healthy kit ends up completely covered in mycelium over time.
You will not need to identify individual hyphae when growing your kit, they are far too small to see without a microscope. The term comes up in growing guides and biology articles, so it is useful to know: hyphae are the individual strands, mycelium is the network they form together.
Substrate
Substrate is the growing medium that the mycelium feeds on. It provides the nutrients and energy the mushroom needs to grow. In Merryhill Mushrooms kits, the substrate is a specially prepared organic material, sometimes called compost, that has been sterilised and inoculated with mushroom spawn at the farm.
You do not need to add anything to the substrate in most kits. It already contains everything the mushroom needs. For chestnut and white mushroom kits, there is an additional topsoil casing layer that goes on top of the substrate as part of the setup process.
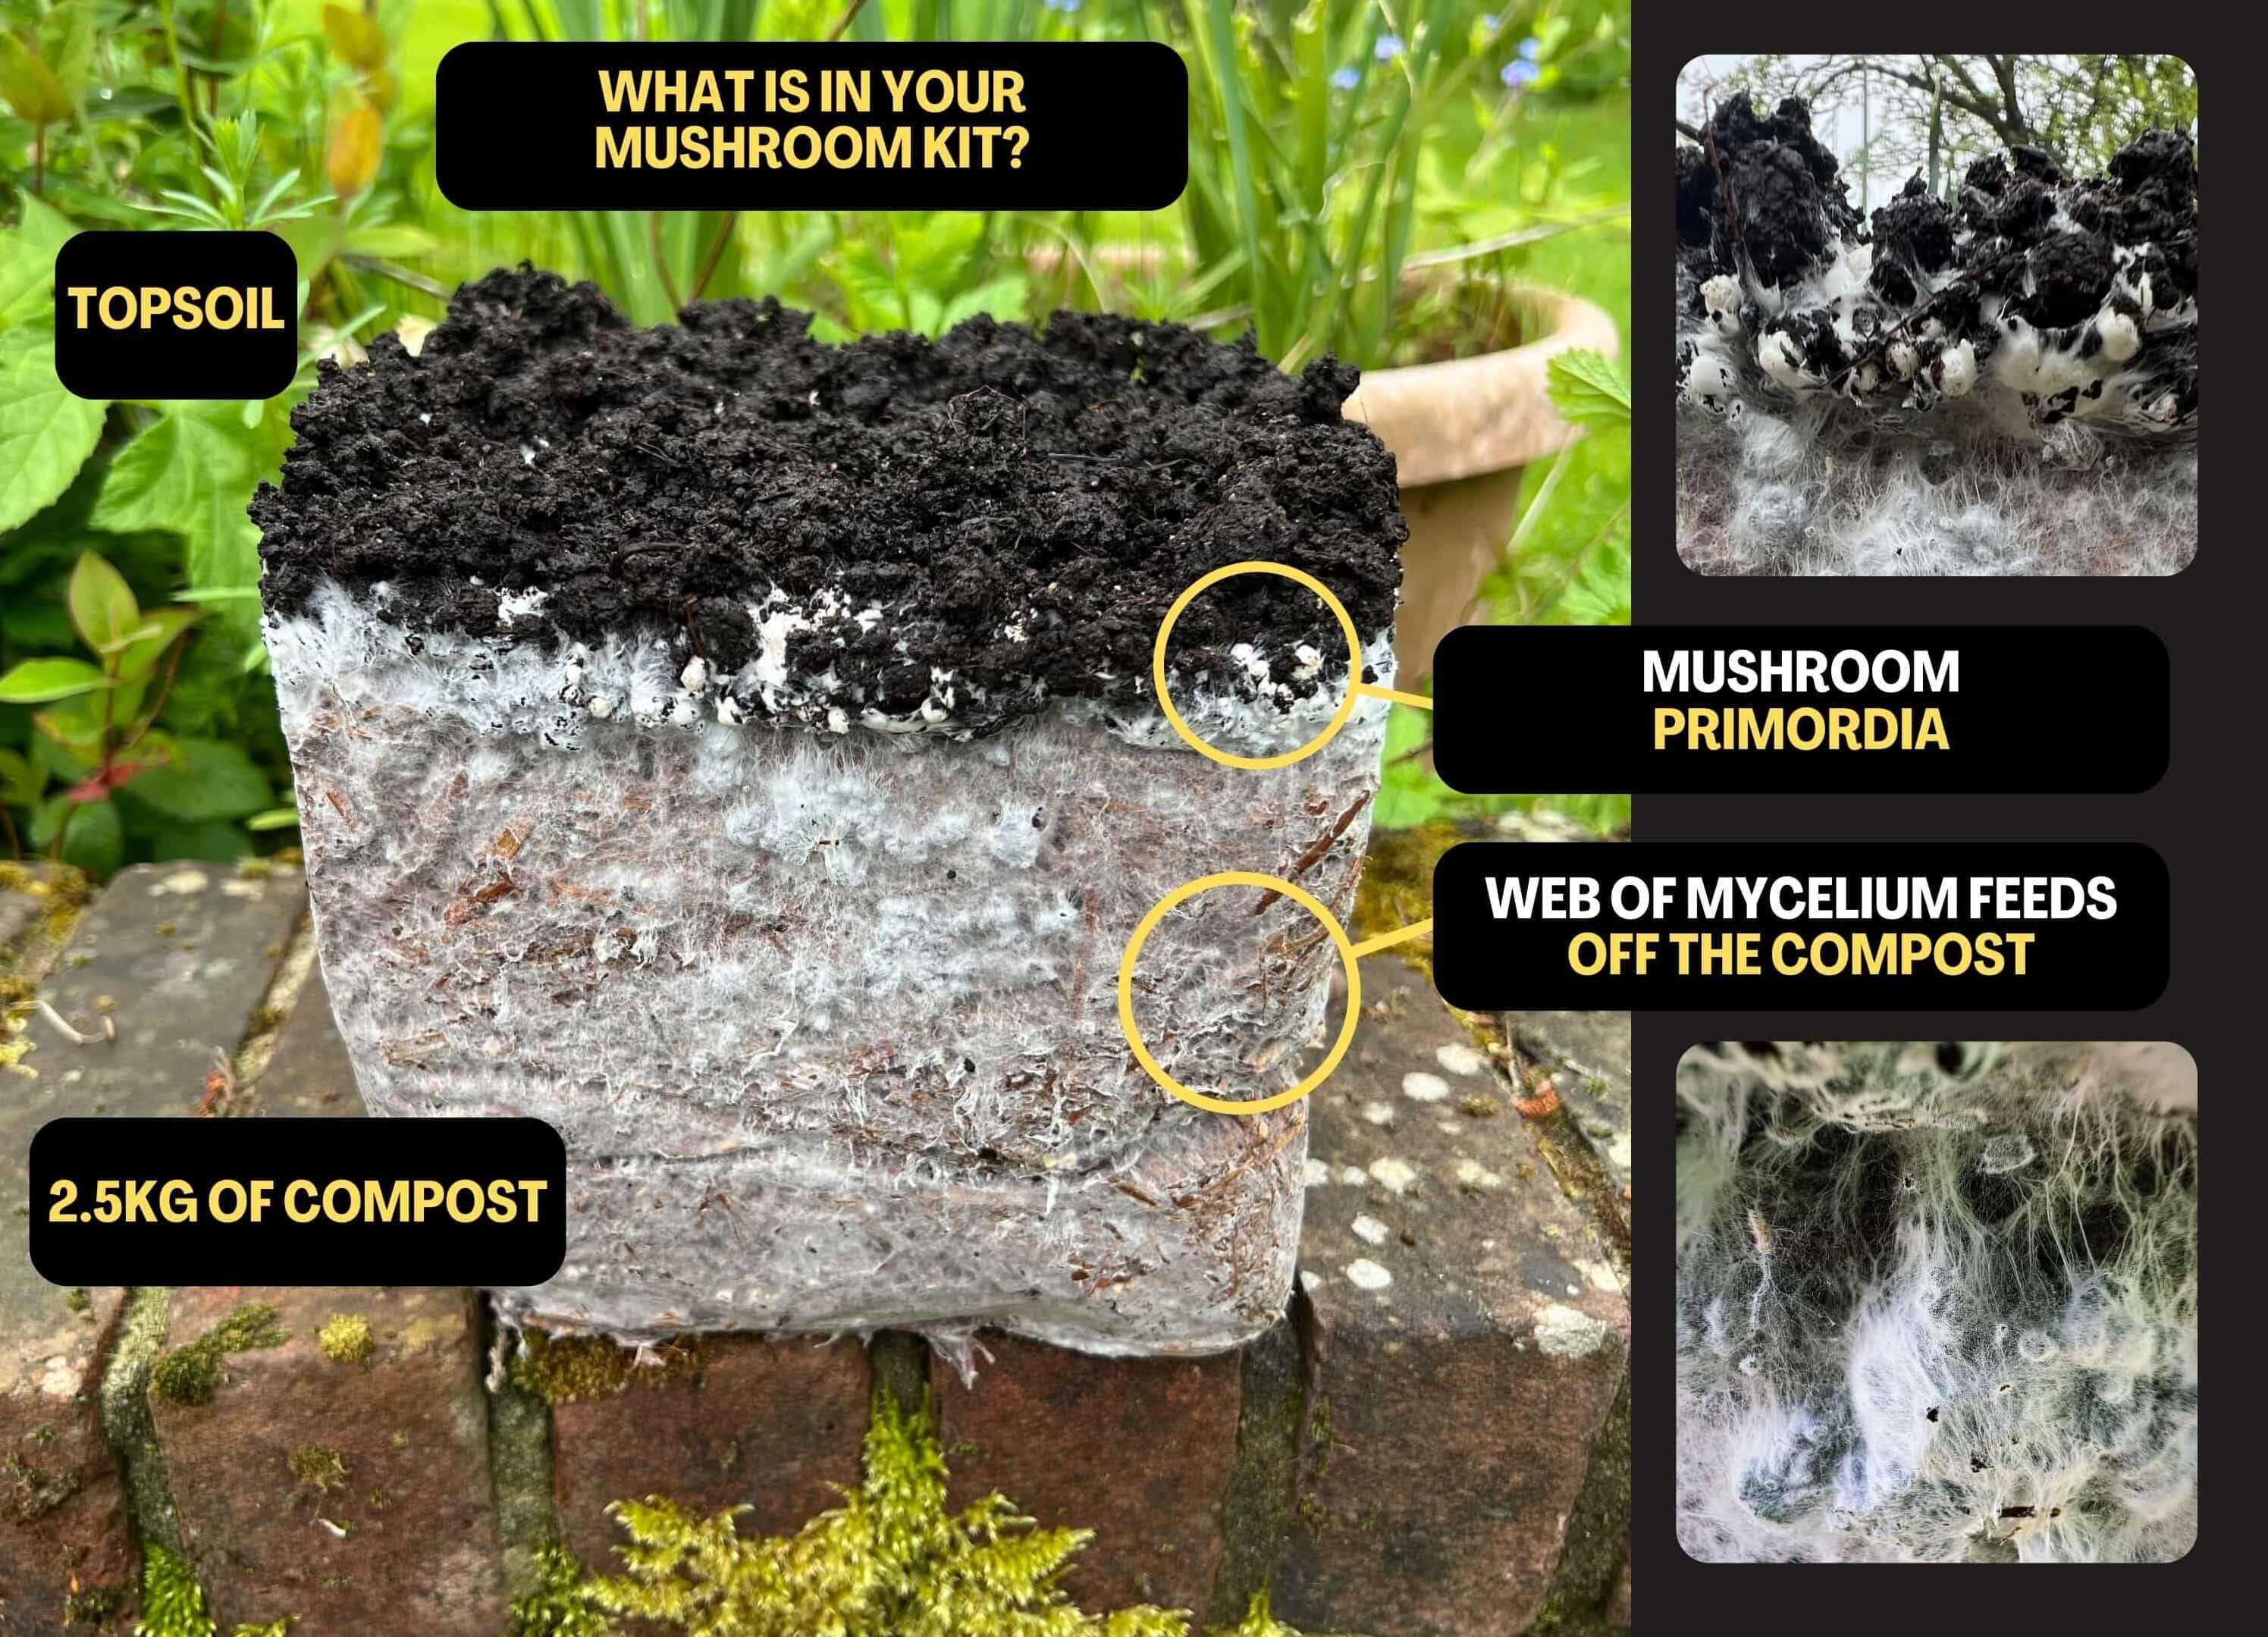
Infographic showing each mushroom growing term on a block of our growing substrate
Colonisation
Colonisation is the process of mycelium spreading through the substrate. When a mushroom kit is first made, mushroom culture (called spawn) is mixed into the substrate. Over the following weeks, the mycelium grows outward from the spawn points until the entire block is colonised, meaning the mycelium has reached every part of the substrate.
With a ready growing kit, colonisation happens at the Merryhill Mushrooms farm before the kit is dispatched. That is why the block looks "mouldy" when you open it, the colonisation stage is already complete. This is the key difference between a ready growing kit and a typical kit where the customer has to manage colonisation at home.
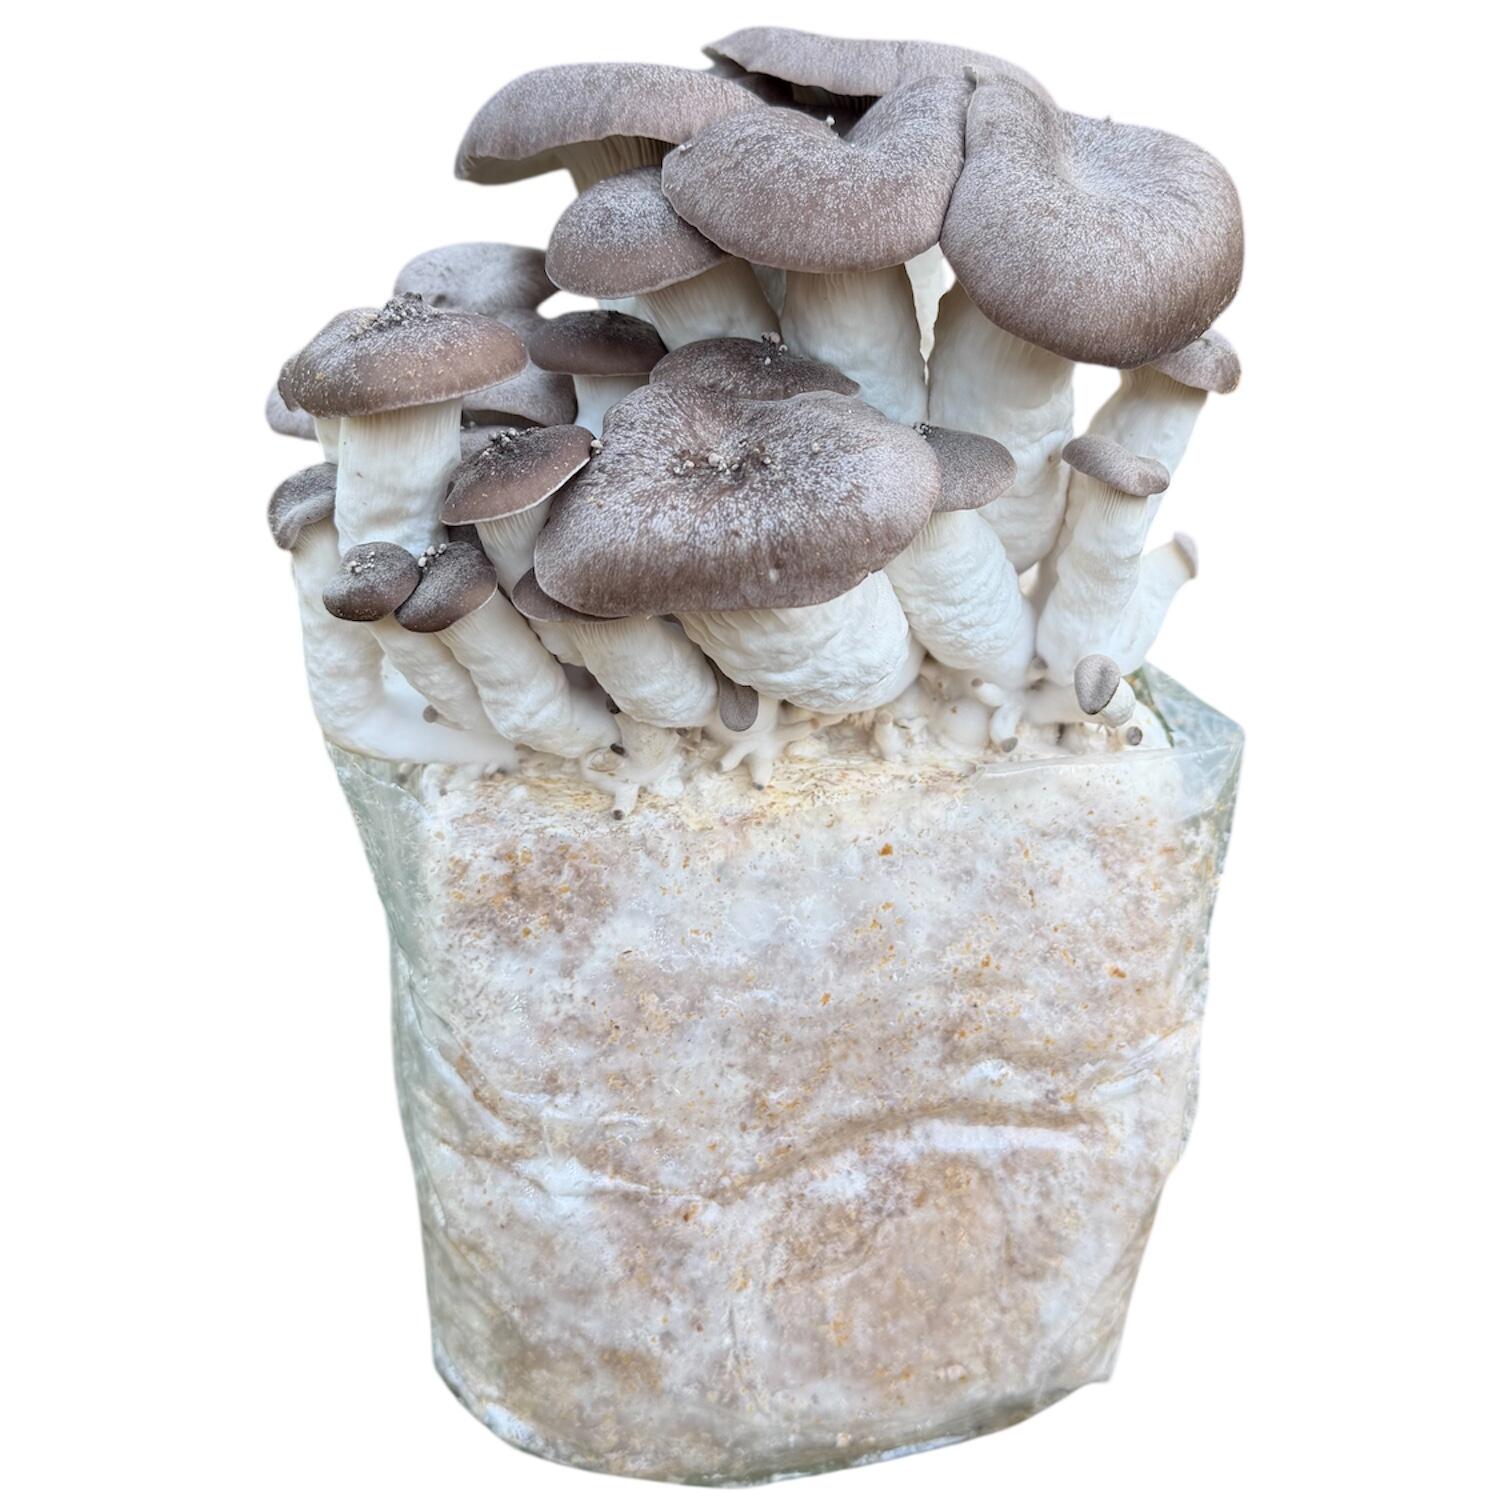
Different species will have drastically different looking mycelium, for example yellow oyster is very thick, where as pink oyster and lion's mane is very thin, making it much harder to see.
Fruiting
Fruiting is the stage where the mycelium starts producing mushrooms. After colonisation is complete, the mycelium needs a trigger to switch from growing through the substrate to producing mushrooms on the surface. That trigger is a change in conditions: fresh air, humidity, light, and sometimes a drop in temperature.
When you open your kit, position it in the right spot, and start misting, you are providing those fruiting conditions. The mycelium responds by forming tiny bumps on the surface, which develop into full mushrooms over the following days.
Pins (Primordia)
Pins are the very first visible signs of mushroom growth. They look like tiny bumps, knobs, or dots on the surface of the substrate. The scientific name is primordia, but most growers just call them pins because of their small, pin-like shape in the earliest stage.
Seeing pins is an exciting moment because it means your kit has successfully moved from colonisation to fruiting. Once pins appear, they can develop rapidly. Some varieties double in size overnight during the pinning stage. Continue misting and keeping conditions stable, this is not the time to move the kit or change anything.
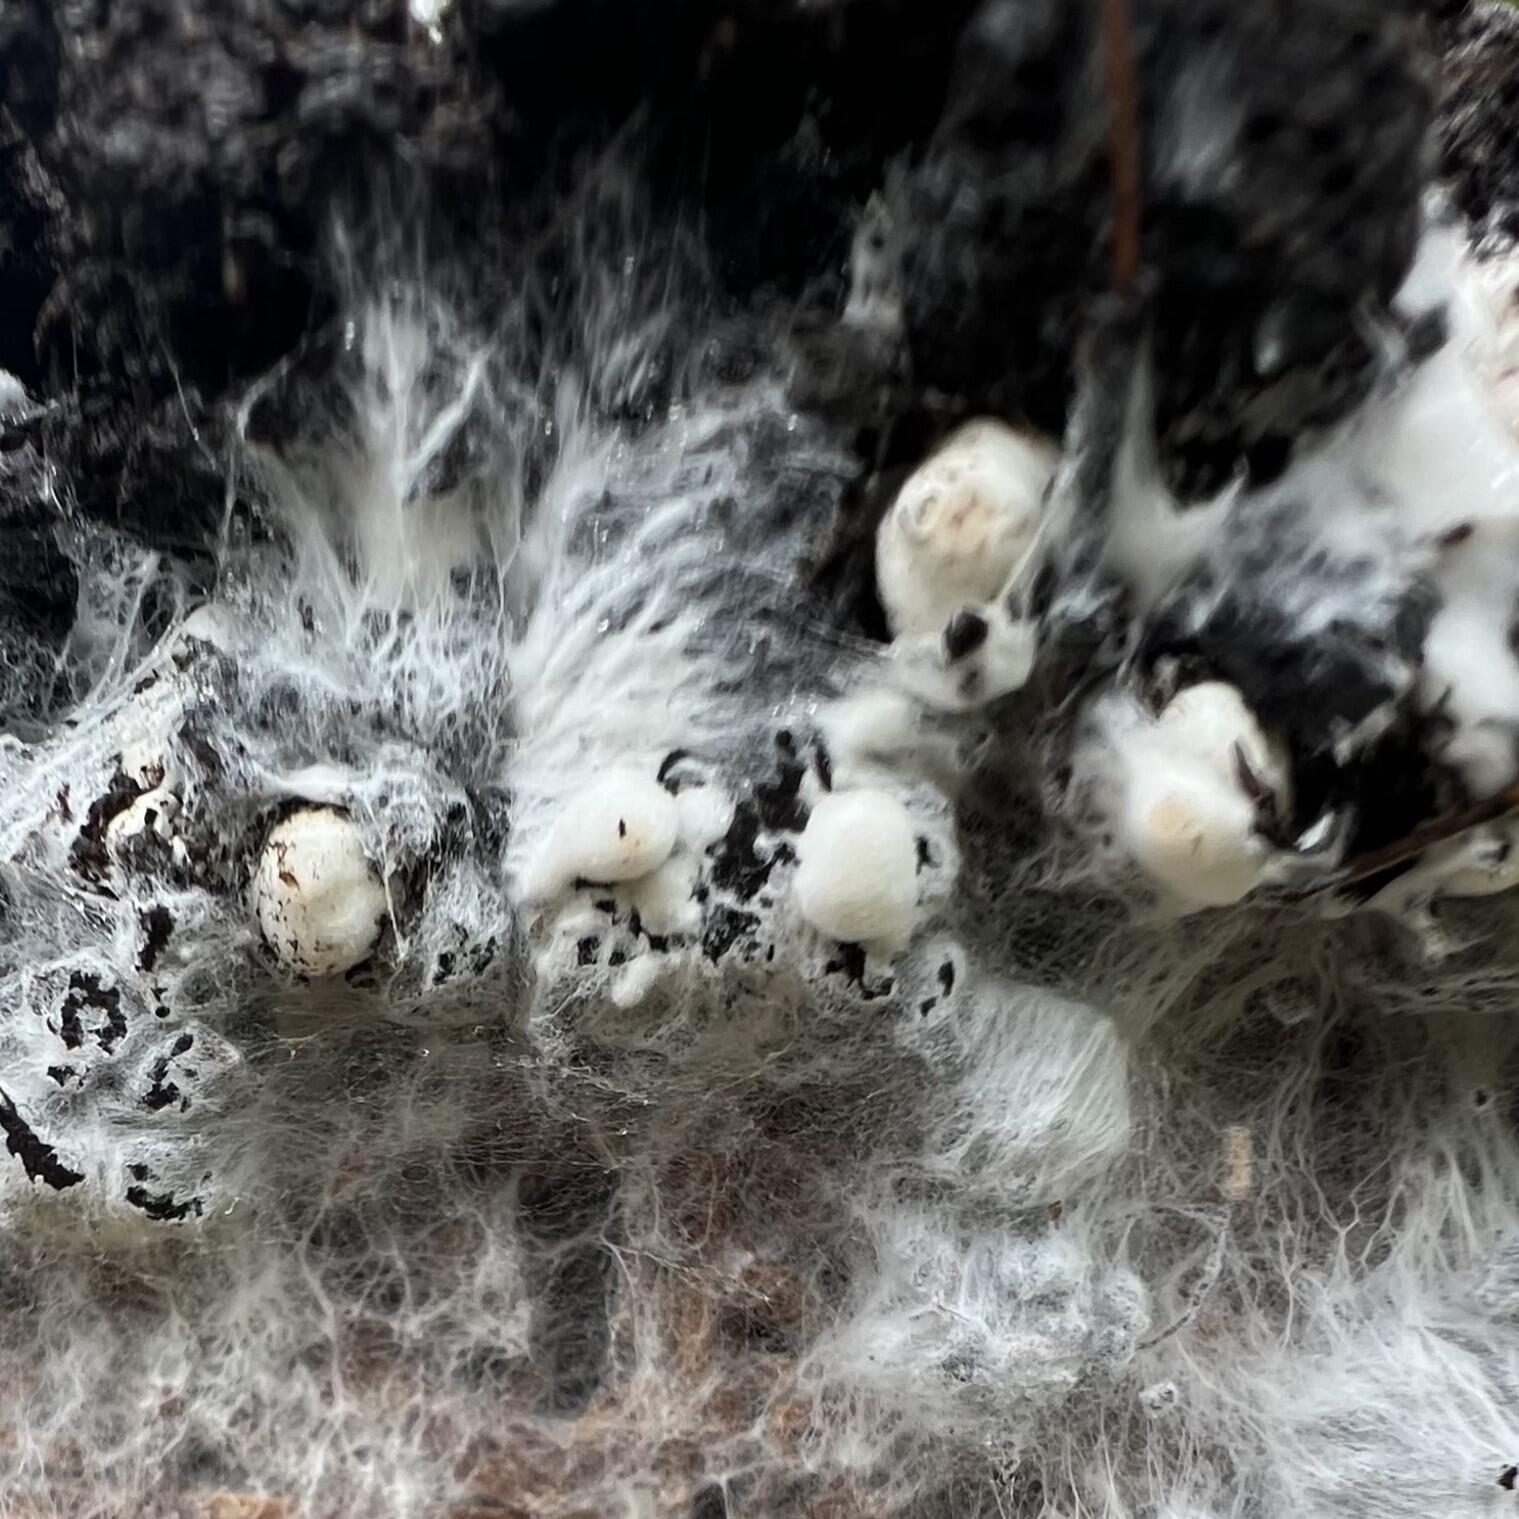
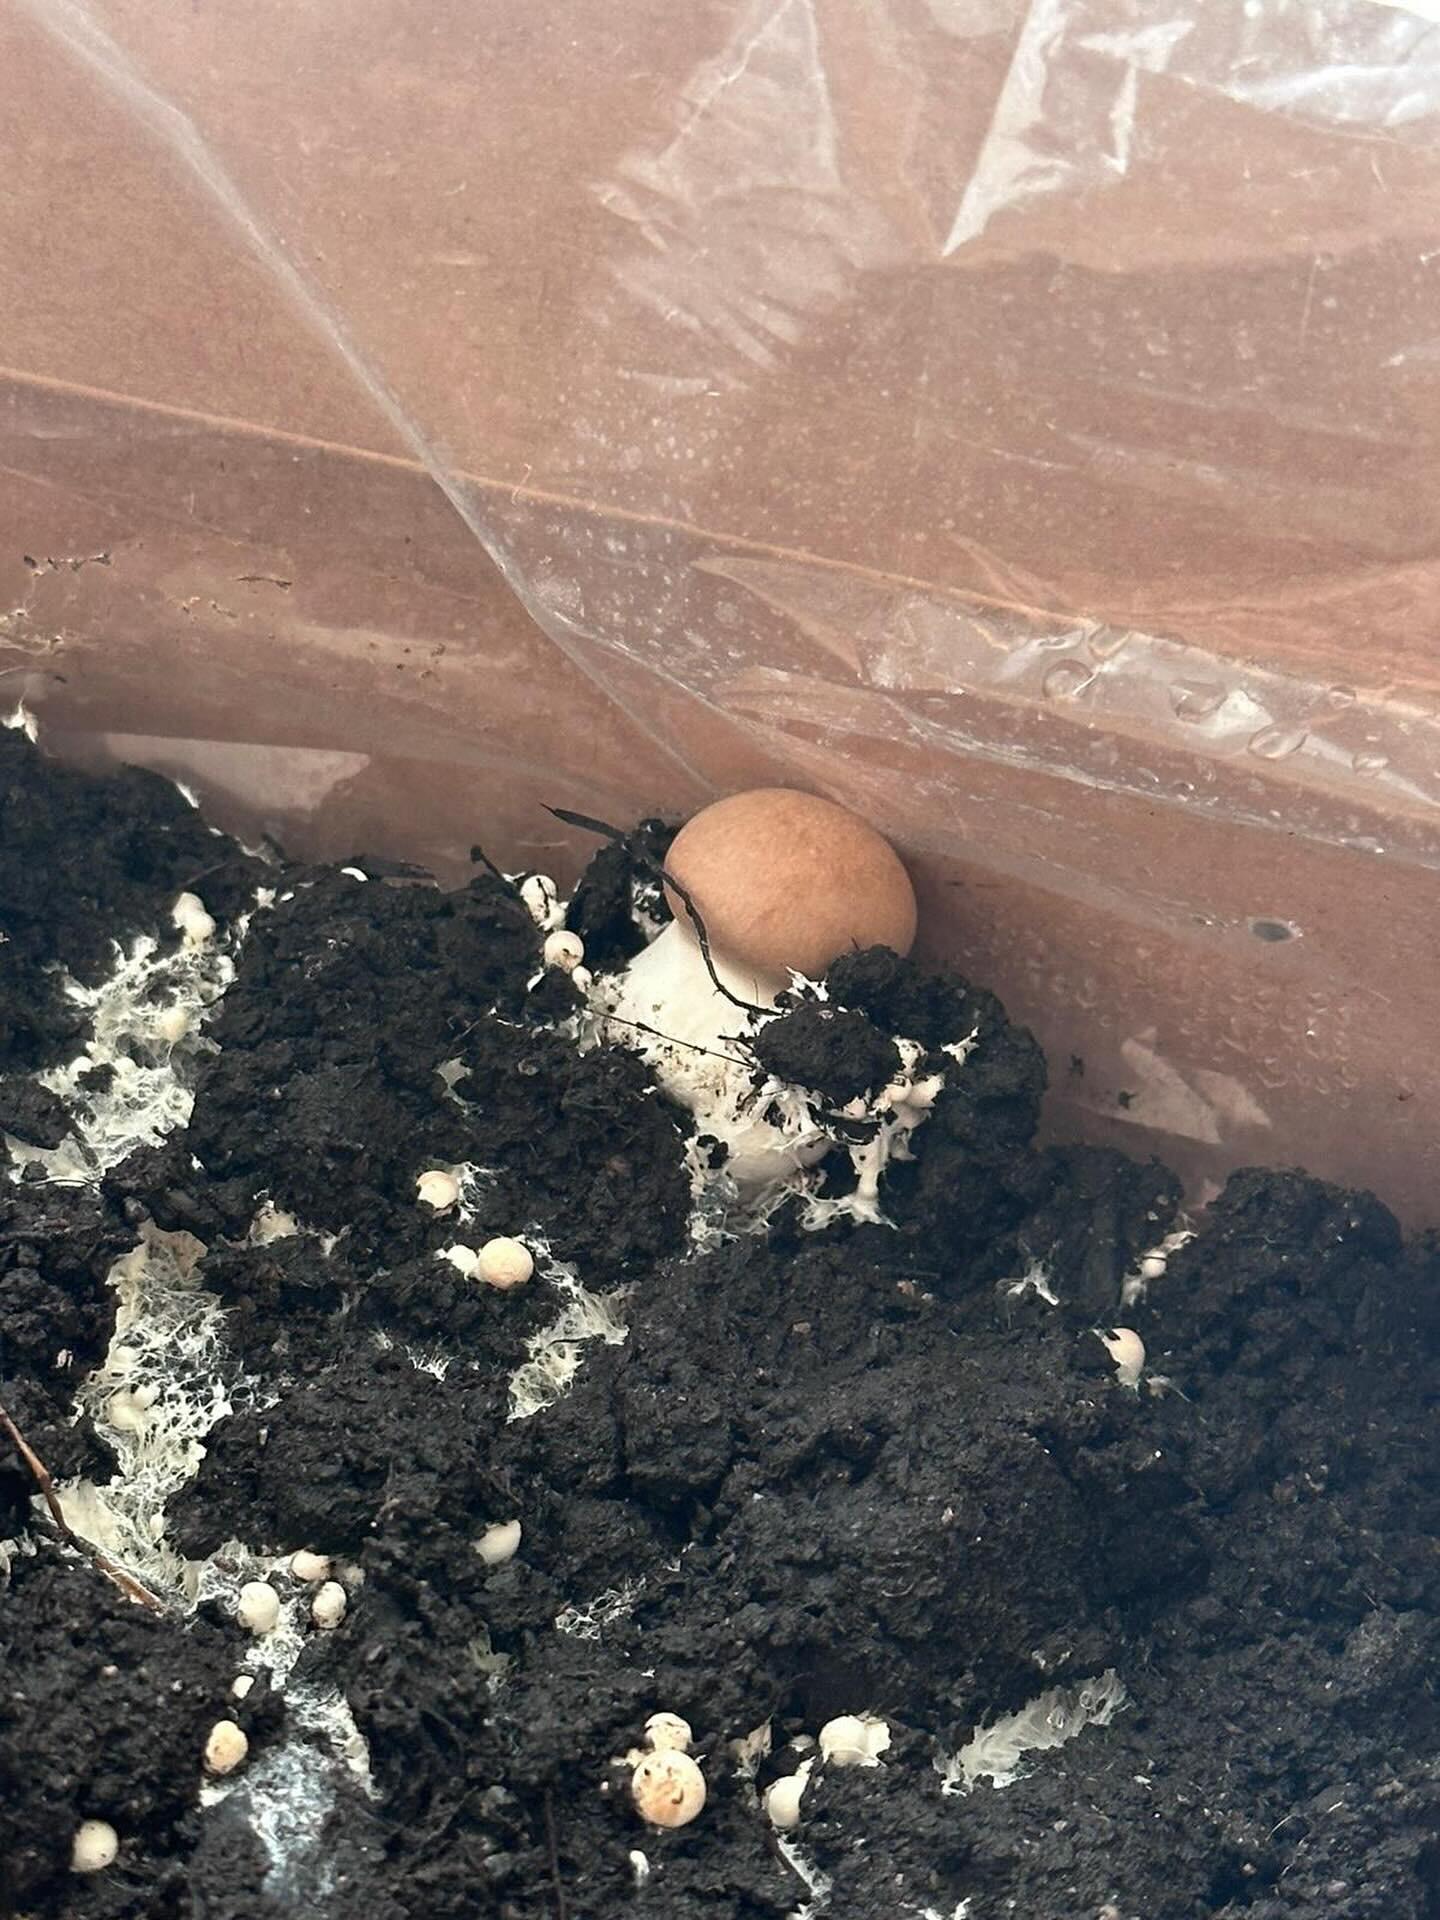
Left: early pins appearing as small bumps — Right: pins developing into recognisable mushroom shapes
If pins appear but then shrivel, dry out, or stop growing, this is called pin abortion. It usually means conditions changed suddenly, a temperature spike, a missed day of misting, or the kit being moved to a drier spot. It could also mean the kit is low on nutrition / at the end of its life cycle. Resuming consistent care usually fixes the problem, and new pins often form within a few days.
Flush
A flush is one complete cycle of mushroom growth from a single kit. The first flush is the first batch of mushrooms the kit produces. After you harvest the first flush, the kit rests for a few days and can then produce a second flush, and sometimes a third or fourth.
The first flush is almost always the largest and most productive. Each subsequent flush tends to produce fewer or smaller mushrooms because the substrate has less nutrition left. This is completely normal. When the kit stops producing altogether, the substrate is spent and can be composted in the garden.
Between flushes, stop misting for a few days to let the block rest. Then resume your normal routine and the kit should begin pinning again for the next flush. The gap between flushes varies by variety but is typically a few days to a week.
Spawn
Spawn is the starting material used to introduce mushroom culture into the substrate. It is grain, sawdust, or another carrier that has been colonised with a specific mushroom species. When spawn is mixed into fresh substrate, the mycelium spreads outward from the spawn into the surrounding material.
You will not see or handle spawn with a ready growing kit because the spawning process happens at the farm before the kit is sent to you. It is worth knowing the term because it appears in growing guides and mushroom growing discussions online.
Casing layer (top soil)
A casing layer is a thin layer of material placed on top of the colonised substrate to help trigger fruiting. Not all mushroom kits use one. Chestnut and white mushroom kits include a bag of topsoil that you distribute over the compost as part of the setup, so does our King Oyster Growing Kit. The casing holds moisture, creates a humid microclimate on the surface, and gives the pins something to push through.
The casing layer needs to stay moist throughout the growing period. If it dries out or pulls away from the edges of the kit, the hydration guide explains how to re-wet it safely without damaging the mycelium underneath.
Spores
Spores are the reproductive cells of a mushroom, similar to seeds in a plant. Mature mushrooms release spores from the underside of their caps. You might notice a fine powder around the base of the kit or on nearby surfaces if mushrooms are left too long before harvesting.
Spore drop is a sign that the mushrooms are overripe and should have been picked earlier. Harvesting before spore drop gives better flavour, firmer texture, and longer fridge life. It also keeps the growing area clean. If you see spores, harvest immediately and wipe down the surrounding area.
Contamination
Contamination is when unwanted organisms, usually mould or bacteria, grow on or in the substrate. It is the main risk during the colonisation stage, which is why ready growing kits have a significant advantage: colonisation is done in controlled conditions at the farm, greatly reducing the chance of contamination.
Signs of contamination include green, black, or blue patches on the surface, a strong unpleasant smell, or slimy areas that do not look like healthy mycelium. White, fluffy growth is almost always healthy mycelium, not contamination. If you are unsure, take a photo and contact the support team who can help you identify what you are seeing.
Harvest
Harvesting is simply picking the mushrooms when they are ready. The right time to harvest varies by variety, but the general rule is to pick when the mushrooms have reached full size but before the caps flatten out completely or begin to curl upward. Picking slightly earlier gives firmer texture and better flavour.
The best method for most varieties is a gentle twist-and-pull motion at the base. For chestnut and white mushrooms, twist and pull the entire mushroom out including the root to avoid leaving any behind on the topsoil, which can hinder further crops. For Shiitake, a clean cut at the base protects the block for the next flush.
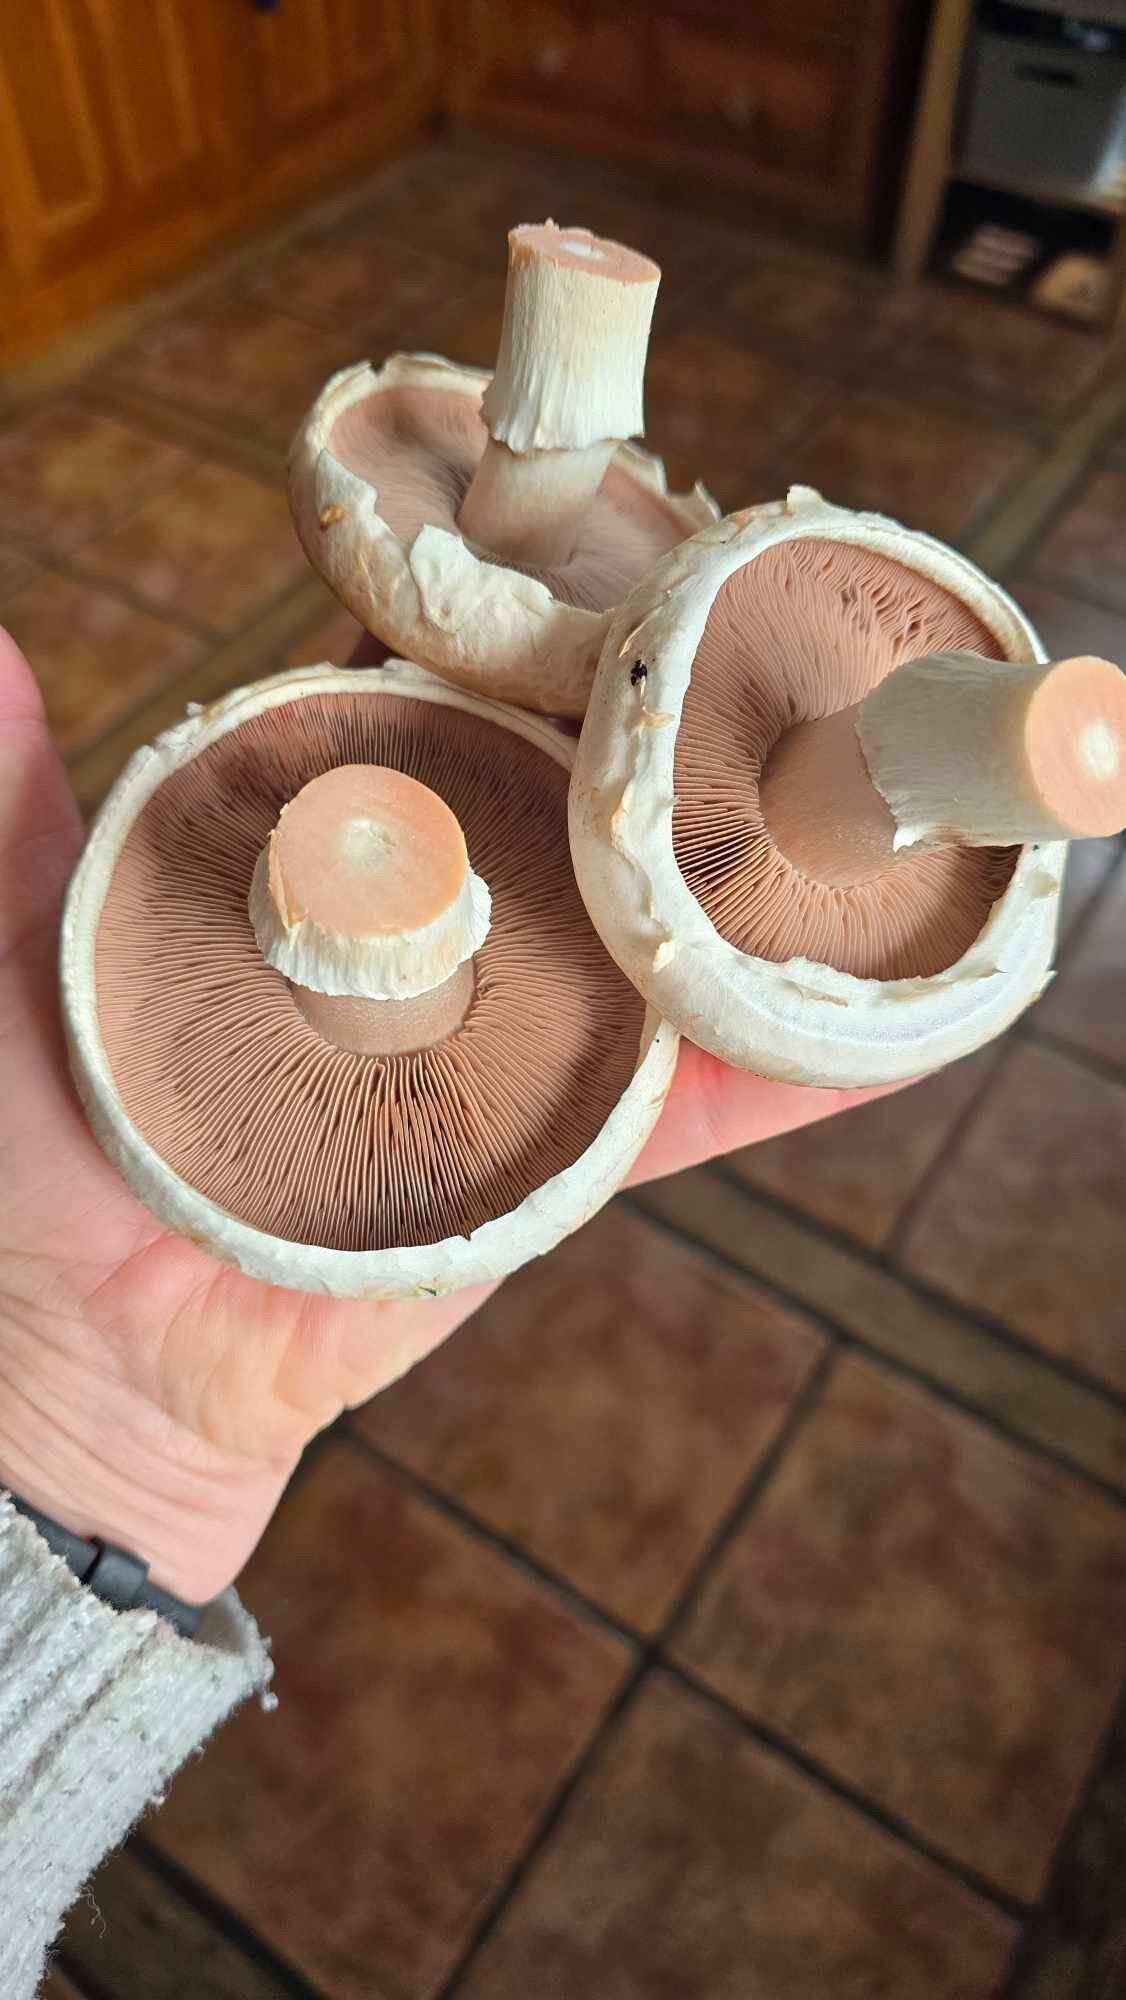
Freshly harvested mushrooms picked at the right time for best flavour and texture
Quick reference
Here is every term in one place for fast reference. Click any term to jump back to its full explanation.
| Term | What it means |
|---|---|
| Mycelium | The white, thread-like network that grows through the substrate and produces mushrooms |
| Hyphae | The individual thread-like strands that branch out and form the mycelium network |
| Substrate | The growing medium (compost) that provides nutrients for the mycelium |
| Colonisation | The process of mycelium spreading through the substrate before fruiting can begin |
| Fruiting | The stage where the mycelium produces mushrooms on the surface |
| Pins (Primordia) | The first tiny bumps of mushroom growth visible on the surface |
| Flush | One complete cycle of mushroom growth and harvest from a single kit |
| Spawn | The starter material (colonised grain or sawdust) used to introduce mushroom culture into substrate |
| Casing layer | A topsoil layer placed over the substrate to hold moisture and trigger fruiting (chestnut/white kits) |
| Spores | Reproductive cells released from mature mushroom caps, a sign to harvest |
| Contamination | Unwanted mould or bacteria growing on the substrate, green, black, or blue patches |
| Pin abortion | When pins form but shrivel or stop growing, usually caused by a sudden change in conditions |
Ready to Start Growing?
Now you know the language, the growing part is easy. Every Merryhill Mushrooms kit arrives fully colonised with clear instructions. No jargon, no guesswork.
Shop Growing KitsFrequently asked questions
Is the white stuff on my mushroom kit mould?
Almost certainly not. White, fluffy or thread-like growth on a mushroom kit is healthy mycelium. It is the living organism that produces your mushrooms and is exactly what you want to see. Mould is typically green, black, or blue, and often has an off smell. If you are unsure, take a photo and contact support for help.
What are the tiny bumps on my mushroom kit?
Those are pins (primordia), the very first stage of mushroom growth. They develop into full-sized mushrooms over the following days. Continue misting, keep conditions stable, and do not move the kit. Growth can be surprisingly fast once pins are established.
How many flushes will my kit produce?
Most kits produce at least two flushes, and some varieties manage three or four. The first flush is usually the largest. Each subsequent flush tends to be smaller as the substrate runs out of nutrition. When the kit stops producing, the spent block can be composted in the garden.
What does it mean if my pins shrivel up and die?
This is called pin abortion and usually means conditions changed suddenly. A missed day of misting, a temperature spike, or moving the kit to a different room can all trigger it. Resume consistent care and new pins typically form within a few days.
What is the powder around the base of my mushrooms?
That is spore drop, which means the mushrooms are overripe and should have been harvested earlier. The mushrooms are still safe to eat, but flavour and texture are better when picked before spore release. Harvest immediately and wipe down any surfaces the spores have landed on.
Related reading
Published by Merryhill Mushrooms
Sussex, UK | Six generations of mushroom growing excellence